If you have ever woken up sore, too hot, or just uncomfortable, a mattress topper might be the solution. Making one yourself can be surprisingly simple, affordable, and effective. Whether your mattress is too firm, worn out, or just not quite right, a DIY topper lets you customize comfort, support, and temperature control exactly how you like it. Unlike store-bought versions that can cost hundreds, a homemade topper uses accessible materials and basic tools to deliver high-end results.
This guide walks you through every step: choosing materials, cutting to size, building a secure cover, and maintaining your topper for long-term comfort. You will learn how to build a topper in under a day, save up to 60% compared to retail, and create a sleep surface tailored to your body and preferences.
Choose the Right Filling Material

The core of your topper determines its feel, support, and durability. Selecting the right filling is the first and most critical step in your DIY project.
Memory Foam for Pressure Relief
High-density memory foam contours to your body, making it ideal for relieving pressure on hips, shoulders, and joints. Look for foam rated 3 to 5 pounds per cubic foot. This ensures durability and prevents sagging. A 2 to 3 inch thickness adds cushion without compromising stability. For hot sleepers, choose gel-infused memory foam, which disperses heat more effectively. Cut the foam to match your mattress size using an electric knife for clean, smooth edges.
Wool for Natural Temperature Control
Wool is a premium natural option that wicks moisture, resists dust mites, and regulates temperature year-round. It stays cool in summer and warm in winter. Use pre-washed, carded wool batting to avoid shrinkage. Layer it to a thickness of 2 to 3 inches for optimal comfort. Because wool can shift inside the cover, quilt it every 6 to 8 inches to keep it evenly distributed. It is more expensive upfront but lasts 10 years or longer with proper care.
Cotton or Fiberfill for Budget Comfort
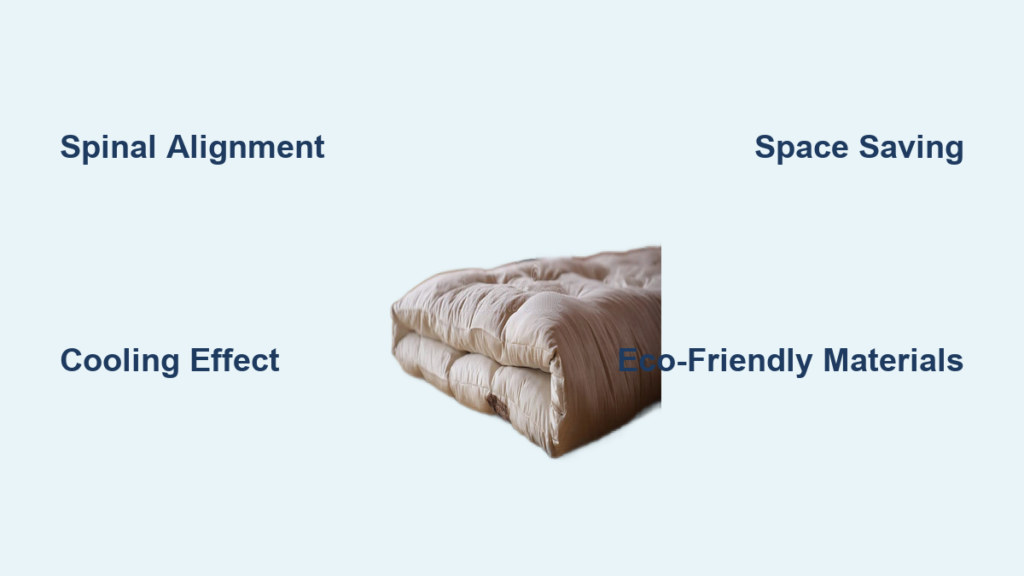
Cotton batting or polyester fiberfill offers a soft, breathable, and affordable option. Ideal for light cushioning or children’s beds, it flattens faster than foam or wool, typically within 1 to 2 years. To extend lifespan, layer multiple sheets and encase them in tightly woven cotton fabric. Quilt thoroughly to prevent clumping. This option is fully machine washable, making it a low-maintenance choice for allergy-prone or sensitive sleepers.
Latex for Durable Support
Natural latex foam is bouncy, supportive, and hypoallergenic. It resists mold, mildew, and dust mites, making it excellent for allergy sufferers. It is firmer than memory foam, so it is better suited for back or stomach sleepers needing spinal alignment. Cut with a serrated knife and pair with a breathable cotton or bamboo cover. Though pricier than memory foam, it lasts 5 to 7 years or longer.
Repurposed Layers for Zero-Cost Solutions
Do not overlook what you already own. Thick wool blankets, old comforters, or even stacked pillows can act as temporary toppers. Place them on the mattress and secure with a deep-pocket fitted sheet. This method is perfect for renters, college students, or anyone testing comfort before investing in materials.
Measure and Cut to Size
Accuracy ensures your topper fits snugly and lies flat without bunching, sliding, or overhangs.
Measure Your Mattress Exactly
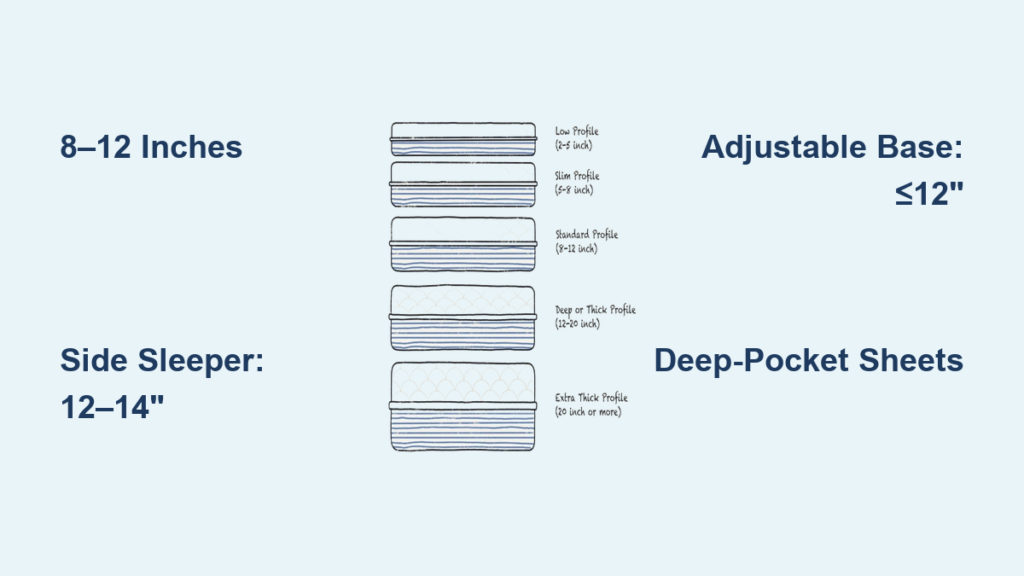
Use a tape measure to record the length, width, and depth of your mattress. Standard sizes include Twin at 38 by 75 inches, Full at 54 by 75 inches, Queen at 60 by 80 inches, King at 76 by 80 inches, and California King at 72 by 84 inches. Cut your foam or filling to match these dimensions exactly with no extra width or length.
Cut Foam Like a Pro
Lay the foam on a clean, flat surface. Mark cutting lines with a fabric marker and straightedge. Use an electric carving knife or serrated bread knife for smooth, even cuts. Move slowly and apply steady pressure. For curved edges or corners, make small relief cuts to maintain shape. After cutting, test the fit by placing it on your mattress and adjust if needed.
Layer for Custom Firmness
Want a hybrid feel? Stack different materials. For example, create a firm base plus soft top using 2 inches of firm memory foam combined with 1 inch of soft fiberfill. For a cooling combo, use 2 inches of latex plus 1 inch of wool batting. Label each layer before assembly to avoid confusion.
Build a Secure, Washable Cover

A well-made cover keeps the filling in place, enhances comfort, and simplifies cleaning.
No-Sew Wrap Method
Ideal for beginners or temporary builds, this method involves cutting fabric 6 to 8 inches larger than the topper on all sides. Place the foam in the center, wrap the excess fabric around the underside, and secure with fabric glue, staples, or Velcro strips. Use a non-slip mat underneath to prevent sliding. This method avoids sewing but is not machine washable unless you use pins or ties.
Sewn Envelope Cover
For a clean, permanent finish, cut two fabric pieces to size with 1 inch seam allowance. Hem all edges to prevent fraying. Place right sides together and sew three sides. Insert the topper, then sew the fourth side closed by hand or with a zipper. Use polyester thread for durability. Choose breathable fabrics like organic cotton, bamboo, or TENCEL.
Fitted Sheet-Style Cover
Create a removable, washable cover using stretchy jersey knit or spandex-blend fabric. Cut like a deep-pocket fitted sheet with 12 to 18 inches depth. Sew elastic into each corner for a tight grip. This design allows easy removal for washing and lets you switch covers seasonally.
Quilted Topper for Stability
Prevent shifting in layered builds by sandwiching filling between two fabric layers. Baste layers together with pins or spray adhesive. Quilt in straight lines, diamonds, or custom patterns using a sewing machine. Trim and bind edges for a polished look. Quilting adds structure and extends the topper is life, especially for wool or fiberfill.
Prevent Sliding and Shifting
Even the best topper fails if it moves around at night.
Use Non-Slip Underlay
Place a rubberized shelf liner, gripper pad, or anti-slip rug pad between the mattress and topper. These are inexpensive, washable, and highly effective. Trim to size for a perfect fit.
Add Elastic Corner Straps
Sew or attach cross straps with elastic ends to the cover is corners. These hook under the mattress like a fitted sheet, locking the topper in place. You can purchase these online or make them from old elastic bands.
Silicone Gripper Strips
Iron or sew silicone-coated strips onto the underside of the cover. These create friction without damaging the mattress. They are ideal for smooth surfaces like memory foam or latex.
Deep-Wrap Design
Extend the cover fabric underneath and secure it tightly. The deeper the wrap, at least 6 inches or more, the less likely it is to slip. Combine with staples or adhesive for extra hold.
Customize for Your Sleep Needs
Tailor your topper to solve specific comfort issues.
Soothe Back Pain
Use firm latex or medium-firm memory foam, around 3 inches, to support spinal alignment. Avoid overly soft materials that cause sinking. Add a thin wool layer on top for comfort without sacrificing support.
Stay Cool at Night
Build a cooling topper with gel-infused memory foam, wool batting, and a bamboo or TENCEL cover. Pair with breathable sheets and a fan for maximum airflow.
Soften a Hard Mattress
Layer 2 to 3 inches of plush fiberfill or down alternative over a thin foam base. Quilt lightly for structure. This creates a cloud-like feel without losing shape quickly.
Support for Side Sleepers
Target pressure points with zoned layering using thicker foam, around 4 inches, under hips and shoulders and thinner foam, around 2 inches, under the lower back and legs. Cut and stack foam pieces accordingly, then encase in a single cover.
Eco-Friendly Sleep Surface
Use only natural, sustainable materials including organic cotton batting, GOTS-certified wool, natural latex foam, and recycled fabric covers. Avoid synthetic adhesives and opt for water-based, low-VOC sprays instead.
Maintain and Extend Lifespan
Proper care keeps your topper fresh, hygienic, and supportive for years.
Clean Without Damage
For foam, spot clean only by mixing mild soap with water, dabbing stains, and allowing to air dry. For wool, dry clean or hand-wash gently and never soak. For cotton or fiberfill, machine wash the cover on cold, gentle cycle and air dry or tumble dry low. For latex, surface wipe only and avoid moisture. Never put foam or latex in a washing machine as water destroys its structure.
Rotate and Air Out
Rotate the topper every 3 months to prevent uneven wear. Flip if double-sided. Once a month, vacuum lightly to remove dust. Let wool or feather toppers breathe in sunlight for 1 to 2 hours to refresh and disinfect.
Protect with a Mattress Protector
Place a waterproof, breathable protector over the topper. This blocks spills, sweat, and allergens while allowing airflow. Choose one with a zippered, washable cover.
Watch for Wear Signs
Replace your topper if you notice sagging or permanent body impressions, lumps or uneven thickness, persistent odors, or fabric tears or foaming. Foam lasts 5 to 7 years, wool up to 10 years, and fiberfill 1 to 2 years.
Save Money With DIY vs. Store-Bought
Building your own topper cuts costs significantly.
Memory Foam: Half the Price
DIY cost runs 60 to 100 dollars for queen size while store-bought costs 150 to 300 dollars. This represents savings of 40 to 60%. Buy foam online in bulk as many suppliers offer off-cuts at discount.
Wool: Premium Value
DIY cost runs 100 to 180 dollars while retail equivalent costs 250 to 400 dollars, representing savings of 150 dollars or more. Though wool batting is pricey, its 10-year lifespan makes it cost-effective over time.
Budget Builds Under 50 Dollars
Use old blankets, quilts, or fiberfill with a cotton cover. Total cost runs 20 to 50 dollars. This is ideal for temporary fixes or guest beds.
Troubleshoot Common Problems
Fix issues quickly to maintain comfort and safety.
Topper Slides Off
Fix this by adding a non-slip pad or elastic corner straps. Ensure the cover fits tightly.
Foam Smells Chemical
Fix this by airing out for 48 to 72 hours in a well-ventilated area. Place bowls of baking soda or activated charcoal nearby to absorb odor.
Filling Shifts Inside
Fix this by quilting more densely, every 4 to 6 inches. Reduce layer thickness if over 4 inches.
Cover Wrinkles or Bubbles
Fix this by stretching fabric taut before securing. Use more adhesive or re-sew seams.
Topper Feels Too Hot
Fix this by switching to wool, bamboo fabric, or gel foam. Improve bedroom ventilation.
Hard to Clean
Fix this by adding a zippered, removable cover. Use machine-washable inner layers when possible.
Frequently Asked Questions About Making a Mattress Topper
What is the best material for a DIY mattress topper?
The best material depends on your sleep needs. Memory foam offers excellent pressure relief and contours to your body. Wool provides natural temperature regulation and lasts over 10 years. Latex offers durable support and is hypoallergenic. Cotton or fiberfill is budget-friendly and machine washable but flattens faster.
How thick should a mattress topper be?
Aim for 2 to 4 inches thickness. Two inches provides moderate cushioning, while 3 to 4 inches creates a plush, enveloping feel. Anything over 4 inches may cause instability or sliding. Thinner toppers work for adding slight comfort, while thicker ones transform an overly firm mattress.
Can I wash a foam mattress topper?
Foam and latex toppers should never be machine washed as water destroys their structure. Spot clean only using mild soap and water. For wool or fiberfill toppers, check the care label. Many have removable, machine-washable covers that make cleaning easier.
How do I keep my mattress topper from sliding?
Use a non-slip pad or rubberized shelf liner between the mattress and topper. Add elastic corner straps that hook under the mattress. Apply silicone gripper strips to the underside of the cover. Choose a deep-wrap cover design that extends underneath the mattress.
How long does a DIY mattress topper last?
Lifespan varies by material. High-density foam lasts 5 to 7 years. Wool can last 10 years or longer with proper care. Cotton or fiberfill typically flattens within 1 to 2 years and needs replacing. Proper maintenance, rotation, and using a protector significantly extends lifespan.
Key Takeaways for Making Your Own Mattress Topper
A DIY mattress topper is one of the most cost-effective ways to upgrade your sleep. With the right materials and a few hours of work, you can create a custom layer that improves comfort, supports your body, and extends your mattress is life. Whether you choose cooling wool, pressure-relieving foam, or a budget-friendly blanket wrap, the key is matching the build to your sleep needs. Consider your primary sleep concerns, whether that is back pain, overheating, or simply adding softness, and select materials accordingly.
Once assembled, maintain your topper with regular cleaning, rotation, and protection. Use a waterproof mattress protector to guard against spills and allergens. Rotate the topper every three months to ensure even wear. Spot clean foam immediately and air out wool periodically. Your handmade topper is not just a bedding upgrade, it is a personalized sleep solution that pays off in better rest, fewer aches, and long-term savings.