Is your phone, remote, or favorite book always disappearing behind the bed? You’re not alone. A mattress gap is a surprisingly common issue that affects comfort, safety, and bedroom cleanliness. Whether it’s a narrow slit or a wide crevice between your mattress and headboard, wall, or bed frame, this gap traps items, collects dust, and can even pose a hazard for children or pets. The good news: proven, affordable, and stylish ways exist to close it for good.
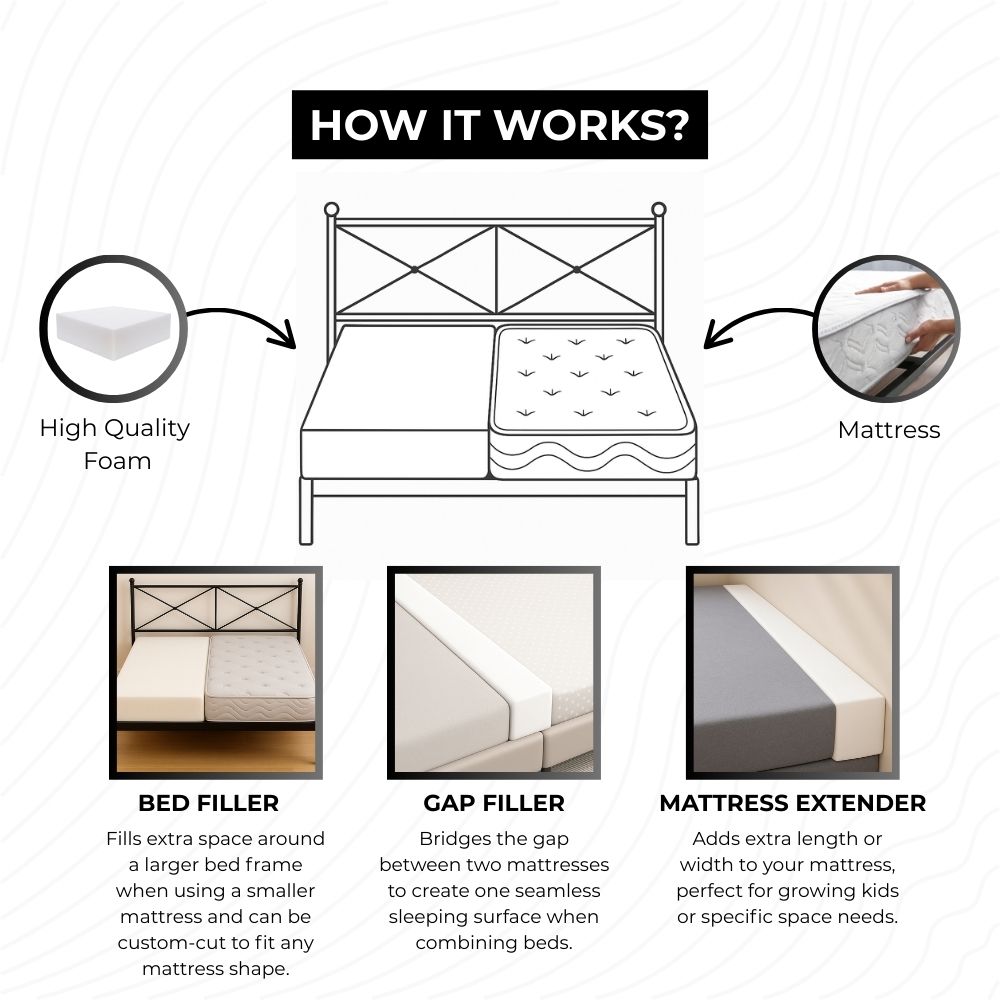
Most mattress gaps occur due to size mismatches between mattress and frame, or bed designs like sleigh beds with curved rails. The solution depends on your gap type, bed setup, and whether you’re renting or owning. From $5 pool noodles to custom upholstered headboards, this guide covers every effective method to fill mattress gap permanently.
Identify Your Mattress Gap Type
Before choosing a fix, pinpoint the exact nature of your gap. The right solution depends on location, size, and bed style.
Vertical Gap at Headboard
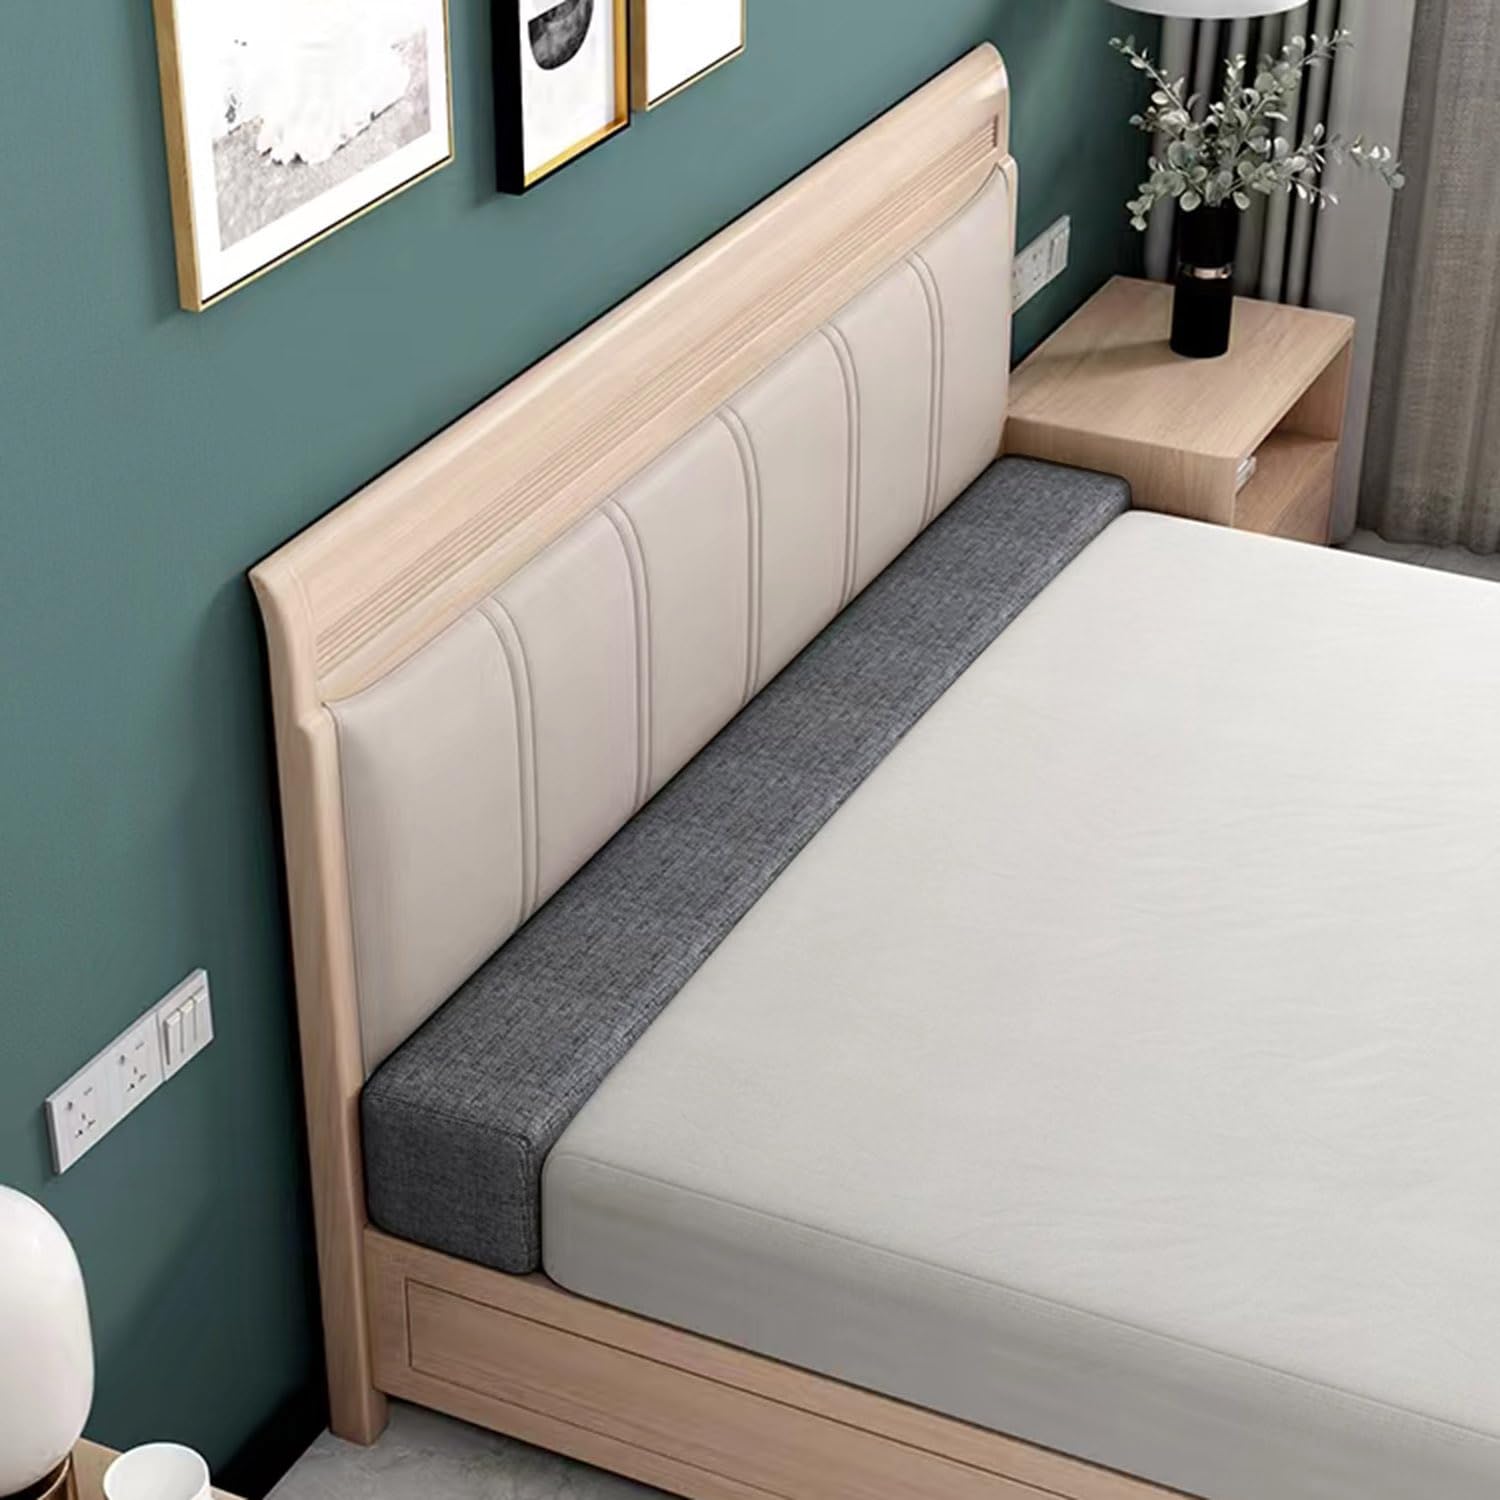
This space runs between the top edge of the mattress and the bottom of the headboard. Common in platform and floating beds, it often measures 2 to 8 inches. Pillows and small electronics easily slip into this void. If you sit up in bed and feel a hollow behind your back, this is your issue.
Side Gaps on King or Queen Beds
Lateral gaps appear along the mattress edges, especially on oversized frames or sleigh beds. Standard mattresses run 1 to 2 inches smaller than nominal sizes, so these gaps can reach 2.5 inches per side on king beds. They let debris accumulate and increase entrapment risk.
Corner and Diagonal Gaps
Found where the headboard meets the side rails, these L-shaped spaces combine vertical and lateral gaps. They’re tricky to fill because of their angle and depth. Standard wedges may not fit, requiring custom or L-shaped solutions.
Pro Tip: Use a tape measure and flashlight to assess gap dimensions. Record height, width, and depth at multiple points since gaps are often uneven.
Best Commercial Mattress Gap Fillers
When you want a ready-made, reliable fix, commercial products deliver consistent results with minimal effort.
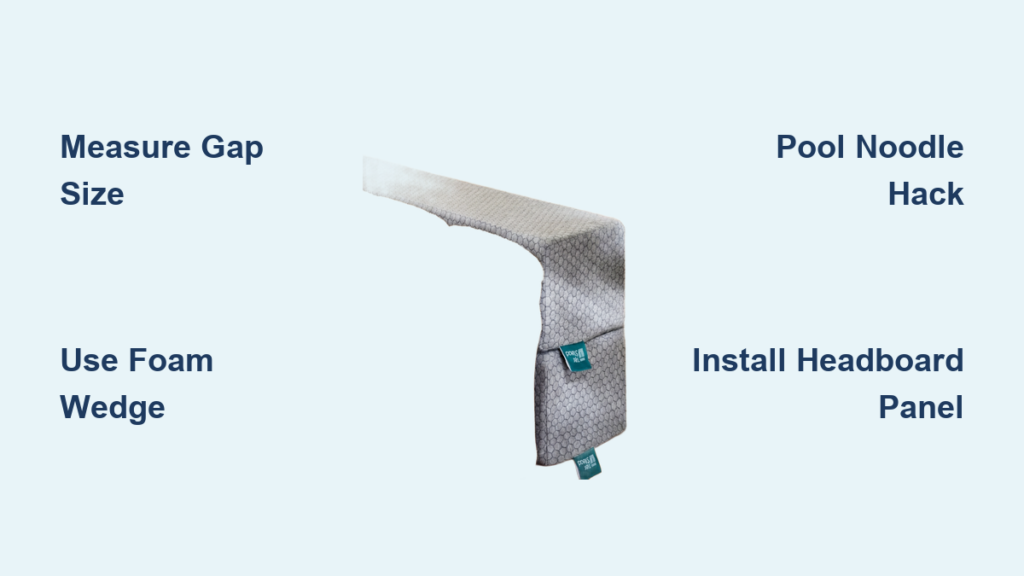
SnugStop Bed Wedge
The SnugStop ranks as the top-rated mattress gap filler for vertical spaces. Made from high-density foam, it slides easily behind the mattress and presses firmly against the headboard. Users report near-total elimination of top gaps up to 6 inches. Available in gray and beige with a removable, washable cover.
Key details:
- Effectiveness: 4.7 out of 5
- Installation: Zero tools, just slide it in
- Durability: Lasts 3 to 5 years with proper care
- Price: $35 to $50
Ideal for renters or anyone avoiding DIY projects, SnugStop works instantly.
Yuuro L-Shaped Foam Filler
For gaps extending both vertically and laterally, the Yuuro L-shaped foam is unmatched. It covers corner gaps in one piece, fitting snugly between mattress, headboard, and wall. Made from fire-retardant, hypoallergenic high-density foam, it resists compression and can be trimmed to size.
Key details:
- Dimensions: Approximately 30 by 24 by 6 inches, adjustable
- Aesthetic flexibility: Can be wrapped in custom fabric
- User rating: 4.6 out of 5 for performance
- Price: $40 to $60
Priced at $40 to $60, it’s a premium choice for modern beds with complex gap geometries.
Mattress Retaining Bars
These metal or plastic clips attach to the bed frame and grip the mattress edges, preventing side movement and reducing lateral gaps. Common in hospital beds, aftermarket versions work well for home use.
Best for: King beds with shifting mattresses
Installation: Screws into frame (not renter-friendly)
Effectiveness: 4.0 out of 5 for gap prevention
Use in combination with a foam wedge for full coverage.
DIY Foam Wedge Solutions
For a custom, long-lasting fix, building your own foam wedge offers superior fit and value.
Cut Your Own Foam Wedge
Start by measuring your gap’s height and depth. Then follow these steps:
- Buy high-density polyurethane foam (2.5 lb/ft³ or higher) from a fabric or upholstery store.
- Cut a triangle: base equals gap depth, height equals vertical space.
- Taper from full thickness at the bottom to a point at the top.
- Sand edges smooth with fine-grit paper.
- Insert behind the mattress.
Pro Tip: For L-shaped gaps, cut two connected rectangles (one vertical, one horizontal) and join them with strong tape or adhesive.
Choose the Right Foam
Not all foam lasts. Use this guide:
| Foam Type | Lifespan | Best For |
|---|---|---|
| High-Density Polyurethane | 5+ years | Most home beds |
| Memory Foam | 5 to 7 years | Conforms to irregular gaps |
| Natural Latex | 7 to 10 years | Premium, eco-friendly option |
| Low-Density Foam | Less than 1 year | Temporary fix only |
Avoid cheap craft foam since it collapses within months.
Cover for Durability and Style
Wrap your wedge in cotton, microfiber, or matching headboard fabric. Use a hot glue gun or sewing machine to secure it. Add a zipper for removable cleaning.
Additional tips:
- Non-slip backing: Glue rubber shelf liner to the bottom to prevent sliding.
- Color matching: Dye foam edges or use paint-safe sealants to blend with decor.
Budget Fix: Pool Noodle Method
Need a $5 solution? The pool noodle hack works for a reason.
How to Install
- Measure the headboard height.
- Cut a standard 3-inch diameter pool noodle to length.
- Slice it lengthwise to create a flat side.
- Press the flat side against the headboard, curved side toward the mattress.
- Tuck firmly into the gap.
For wider gaps, place two noodles side-by-side.
Pros and Cons
Advantages:
- Ultra-cheap at $2 to $5
- No tools needed
- Water-resistant and lightweight
Disadvantages:
- Compresses over time (6 to 12 month lifespan)
- Bright colors may clash
- Not child-safe if loose
Upgrade Tip: Wrap in fabric or duct tape for a cleaner look. Use double-sided tape to secure it temporarily.
Fix Sleigh Bed Side Gaps
Sleigh beds are beautiful but notorious for side gaps due to their curved rails. Here is how to fix them.
Custom Foam or Plywood Inserts
Measure the side gap (usually 2 to 4 inches). Cut a foam block or thin plywood panel to fit. Cover with fabric or paint to match the bed’s finish.
Secure with: Velcro strips or non-damaging adhesive
Removable: Easy to take out for cleaning
Aesthetic: Can be color-matched perfectly
This is ideal for preserving antique or expensive sleigh beds.
Adjustable Side Panels
Use clear acrylic or wood-matching panels that slide into the gap. Hold them in place with friction, magnets, or light adhesive. These are reusable and invisible from the front.
Mattress Extenders
Glue 2 to 4-inch wide foam strips to the mattress sides to widen it. Then use a stretchy mattress cover to hold the extension in place.
Warning: May prevent fitted sheets from staying on.
Best for: Permanent setups where sheet fit is not critical.
Upholstered Headboard Extensions
For a permanent, luxurious fix, extend your headboard forward to meet the mattress.
Build a Cushioned Panel
- Cut a plywood base slightly wider than the mattress.
- Attach 2 to 3-inch thick high-density foam.
- Wrap with fabric using a staple gun.
- Mount so it overlaps the mattress top by 3 to 4 inches.
This eliminates vertical gaps and adds comfort when sitting up.
Retrofit a Cushion
No construction required. Attach a pre-made padded panel to your existing headboard using heavy-duty Velcro or L-brackets.
Benefits:
- Removable: Great for renters
- Customizable: Choose fabric that matches your bedding
- Safety: Ensure it is securely fastened to avoid tipping
Prevent Gaps with Alignment and Accessories
Sometimes the gap is not a design flaw. It is a positioning issue.
Realign the Mattress
Center the mattress in the frame. Check monthly since movement occurs naturally.
Prevent shifting: Place rubber shelf liner between mattress and frame.
Non-slip alternative: Use grippy rug pads cut to size.
Adjust Bed Frame Position
Move the entire bed closer to the wall to reduce the rear gap. Ensure all legs are level since uneven floors cause tilting that worsens gaps.
Use a Tailored Bed Skirt
For sleigh beds, choose a floor-length bed skirt with deep side panels. It hides lateral gaps and gives a clean, finished look. Opt for elastic or wrap-around styles for easy installation.
Creative and Decorative Options
Want to hide the gap while enhancing your decor? Try these stylish fixes.
Stack Throw Pillows Vertically
Place lumbar or decorative pillows behind the head of the bed. Works best for gaps under 4 inches.
Pros: Adds color and texture
Cons: Requires daily adjustment, not pet-proof
Folded Blankets or Quilts
Roll or fold a thick blanket and tuck it behind the mattress. Ideal for rustic, farmhouse, or boho bedrooms.
Bonus: Doubles as extra bedding
Tip: Use neutral tones for a seamless look
Install Floating Shelves
If the gap is too narrow to fill, distract from it. Mount narrow shelves above the headboard for books, plants, or photos. This draws the eye upward and minimizes the gap’s visual impact.
Safety and Maintenance Tips
Child and Pet Safety
Gaps over 4 inches can trap small limbs. Always fill them, especially in children’s rooms. Avoid loose items like unsecured pillows. Use solid foam or fixed panels instead.
Fire and Ventilation Safety
- Use fire-retardant foam, especially near lamps or outlets.
- Do not completely block ventilation if your mattress needs airflow (memory foam). Leave small gaps or use breathable materials.
Clean and Care for Fillers
- Removable covers: Machine wash monthly.
- Spot clean foam: Use mild soap and damp cloth. Never soak.
- Deodorize: Sprinkle baking soda, wait 30 minutes, then vacuum.
- Disinfect: Wipe with 70% isopropyl alcohol.
Rotate foam wedges every 6 months to prevent uneven compression.
Cost Comparison and Best Picks
| Solution | Cost | Best For |
|---|---|---|
| Pool Noodle | $5 to $10 | Renters, quick fix |
| DIY Foam Wedge | $20 to $40 | Custom fit, long-term |
| SnugStop Wedge | $35 to $50 | Easy, reliable, washable |
| Yuuro L-Shape | $40 to $60 | Corner gaps, modern beds |
| Upholstered Headboard | $100 to $300 | Permanent, stylish upgrade |
Top Recommendations
- Best Overall: SnugStop Wedge. Effective, durable, beginner-friendly.
- Best for Corners: Yuuro L-Shaped Foam. Covers complex gaps.
- Best Budget: Pool noodle with fabric wrap. Fast and cheap.
- Best Permanent: DIY upholstered headboard. Blends function and design.
- Best for Sleigh Beds: Custom foam inserts. Invisible and removable.
Frequently Asked Questions About Filling Mattress Gaps
What causes mattress gaps in the first place?
Mattress gaps typically occur due to size mismatches between the mattress and bed frame, headboard design features like offset mounting, sleigh bed architecture with curved rails, or worn and settled mattresses over time.
Is a mattress gap dangerous for children or pets?
Yes. Gaps larger than 4 inches can trap small limbs, posing an entrapment hazard for infants, toddlers, and small pets. Always fill these gaps or block them completely in children’s rooms.
How long do pool noodle gap fillers last?
Pool noodle fillers typically last 6 to 12 months before compressing significantly. They offer an ultra-budget solution but require replacement more often than high-density foam options.
Can I use mattress gap fillers with memory foam mattresses?
Yes, but leave small ventilation gaps. Memory foam needs airflow to prevent heat retention and moisture buildup. Use breathable materials or leave a small space between the filler and mattress.
What is the most effective permanent solution for mattress gaps?
A DIY upholstered headboard extension provides the most permanent solution. It eliminates vertical gaps, adds comfort for sitting up, and integrates seamlessly with bedroom decor. This requires carpentry and upholstery skills but delivers long-term results.
Are commercial gap fillers worth the investment?
Commercial fillers like the SnugStop Wedge offer excellent value. They provide 4.7 out of 5 effectiveness ratings, last 3 to 5 years, and require zero tools to install. For most users, the $35 to $50 investment beats repeated DIY attempts.
Key Takeaways for Filling Mattress Gap
Filling a mattress gap requires matching your solution to gap type, bed design, and lifestyle needs. Measure your gap dimensions precisely before purchasing or building any filler. High-density foam consistently outperforms budget options in durability and effectiveness.
For renters, the pool noodle method or removable foam wedges provide quick, non-permanent fixes. Homeowners benefit from investing in quality commercial products like the SnugStop or permanent solutions like upholstered headboard extensions. Always prioritize safety in children’s rooms by eliminating gaps larger than 4 inches.
Combine methods for maximum effectiveness. Pair a foam wedge with a non-slip rubber mat underneath to prevent shifting. Inspect and clean your fillers every few months to maintain hygiene and performance. With the right approach, you can fill mattress gap permanently and reclaim your lost items, improve comfort, and create a cleaner, safer bedroom.