Is your bed sagging or making annoying creaking noises every time you move? You can solve this by learning how to make a box spring out of wood for a fraction of the cost of store-bought models. A custom wooden foundation offers superior support and eliminates the noise that plagues old spring units.
This guide walks you through building a sturdy, silent base using basic lumber and tools. You will discover exact cut lists, step-by-step assembly instructions, and pro tips to ensure your new foundation lasts for years without sagging.
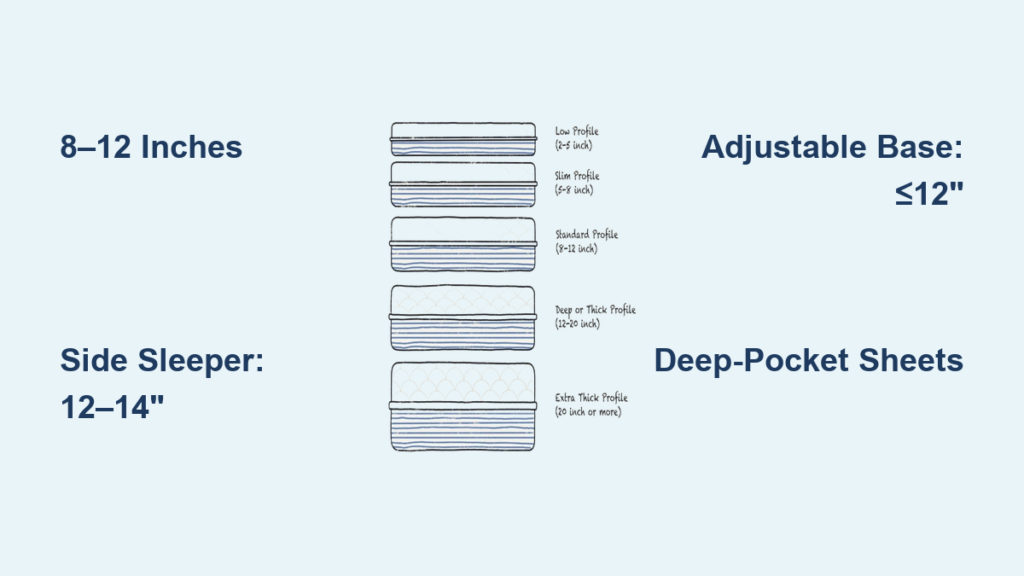
Choose Between Traditional Box Spring and Low-Profile Designs
:max_bytes(150000):strip_icc()/platform-bed-vs-box-spring-5216570-5acea4bcf8f641d8a0c4e1a44e5ad321.png)
Selecting the right design depends on your desired bed height and storage needs. Both styles use similar materials but offer different structural profiles.
Traditional Box Spring Style
This design mimics standard foundations with a height of approximately 9 inches. It uses three internal support beams running the length of the bed.
* Ideal for maintaining standard bed heights.
* Provides maximum support for heavy mattresses.
* Eliminates center sag common in cheaper models.
Low-Profile Platform Style
This minimalist approach creates a base only 4 to 6 inches high. It skips the internal beam box for a direct slat-on-frame construction.
* Perfect for children or seniors needing easier access.
* Creates a modern, sleek aesthetic.
* Allows for under-bed storage if raised with legs.
Gather Essential Materials and Tools for Your Project
You do not need expensive equipment to build a professional-grade foundation. Most hardware stores can cut the lumber to size for you.
Lumber List for Queen Size
- Support Beams: Three 2x4s cut to 79 inches.
- Decking Slats: Eleven to twelve 1x4s cut to 60 inches.
- End Connectors: Two 1x4s cut to 57–60 inches.
- Spacers: Two small scrap wood pieces about 1–2 inches thick.
Required Tool Checklist
- Saw: Circular, miter, or hand saw for cutting lumber.
- Drill: Equipped with bits for driving screws and pre-drilling holes.
- Measuring Tape: For ensuring accurate cuts and spacing.
- Level: To confirm the frame sits flat.
- Clamps: To hold pieces steady while glue dries.
- Wood Glue: Critical for preventing squeaks and shifting.
Cut and Prepare Lumber for Maximum Stability
Accuracy during the cutting phase ensures your final structure is flat and stable. Always measure twice before making any cuts.
Execute Precise Cuts
- Cut three 2x4s to exactly 79 inches for the main support beams.
- Cut eleven to twelve 1×4 boards to 60 inches for the top decking.
- Cut two 1×4 boards to between 57 and 60 inches for the end connectors.
- Lightly sand sharp edges to prevent splinters during handling.
Prepare for Assembly
Label each piece clearly as “Beam,” “Slat,” or “End” to avoid confusion. Set aside your scrap wood pieces to use as spacing guides later. Pre-drill pilot holes at all screw locations to prevent the wood from splitting.
Build Strong Support Beams for the Box Frame

The three longitudinal beams are the backbone of your foundation. They prevent the mattress from sagging in the middle over time.
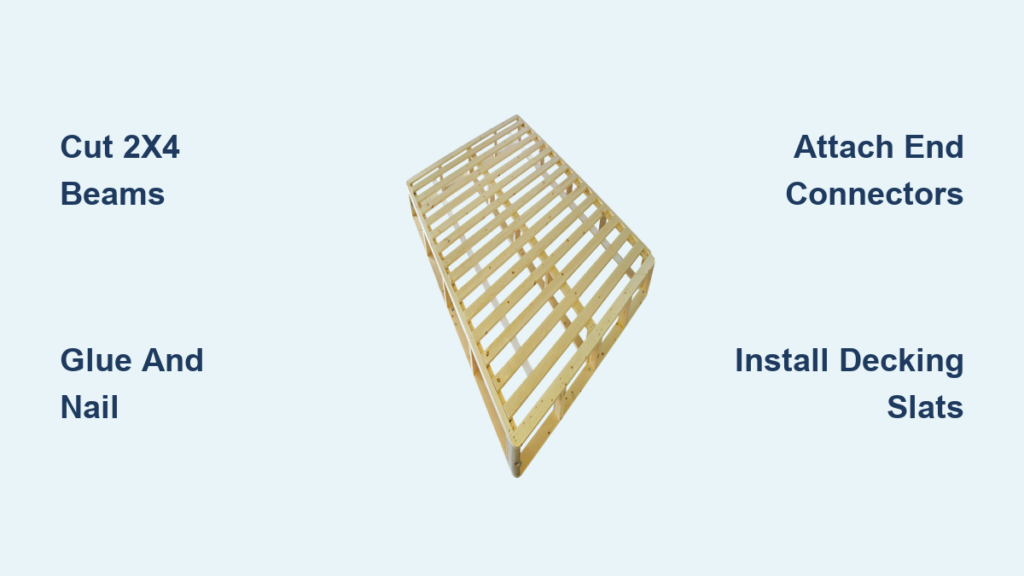
Glue and Nail the Beam Structure
- Lay one 79-inch 1×4 board flat on your work surface.
- Apply a generous bead of wood glue along the center line.
- Place one 79-inch 2×4 directly on top of the glue line.
- Secure the pieces together using 2.5-inch brad nails driven through the 1×4.
- Repeat this process until you have three identical support beams.
Pro Tip: For extra rigidity, you can glue and nail a second 1×4 to the bottom of the 2×4, creating a sandwich beam.
Assemble the Frame Directly in Your Bedroom
Moving a fully assembled queen-size frame through doorways can be difficult. Building in place saves time and physical effort.
Position Beams Correctly
Place your three completed beams parallel on the floor or bed frame. Space them evenly, approximately 18 to 20 inches apart for a queen size. Ensure they are aligned with the head and foot of the bed.
Attach End Connectors
- Place a 60-inch 1×4 across the ends of the three beams perpendicular to them.
- Apply wood glue where the connector touches each beam.
- Pre-drill holes and drive two 2.5-inch screws into each beam end.
- Repeat this step on the opposite end to lock the rectangle shape.
Install Decking Slats for Even Mattress Support

The top layer of slats distributes weight evenly across your new foundation. Consistent spacing is key to preventing mattress damage.
Lay and Secure Top Boards
- Start at one end of the frame with your 60-inch 1×4 slats.
- Place your scrap wood spacer against the first slat to set the gap.
- Apply wood glue where the slat crosses each support beam.
- Secure each intersection with brad nails or screws.
- Move the spacer and repeat until the entire frame is covered.
Visual Cue: Your gaps should look uniform from a distance. Perfect mathematical precision is less important than consistency.
Reinforce Structure for Long-Term Durability

A wobbly frame leads to noise and discomfort. Take time to inspect and tighten your build before adding the mattress.
Check for Stability Issues
Press down firmly on all four corners and the center of the frame. If you feel movement, tighten all screws immediately. Ensure every joint feels solid and secure.
Add Optional Corner Braces
For maximum rigidity, install metal L-brackets at the four outer corners. This prevents the rectangular frame from racking or twisting over years of use. Verify that no screw heads are protruding above the wood surface.
Customize Height and Dimensions for Your Needs
One major benefit of learning how to make a box spring out of wood is total control over dimensions. You can tailor the build to any room or user.
Adjust for Specific Requirements
- Low Profile: Use the platform method for a 4–6 inch height ideal for kids.
- Storage Height: Add legs or stack 2x4s to reach 14 inches for under-bed bins.
- Different Sizes: Easily adjust cut lengths for Twin, Full, King, or California King mattresses.
Avoid Common Mistakes During Construction
Skipping small steps can lead to a noisy or weak foundation. Pay attention to these critical details.
Critical Errors to Prevent
- Skipping Glue: Wood glue bonds fibers to stop micro-movements that cause creaking.
- No Pilot Holes: Driving screws without pre-drilling splits 1×4 boards instantly.
- Wide Gaps: Spacing slats more than 1.5 inches apart can cause thin mattresses to sag.
- Wrong Fasteners: Use screws for frame joints and nails only for thin decking.
Compare DIY Wooden Box Spring vs Store Bought
Building your own foundation offers clear advantages over purchasing a commercial unit. The table below highlights key differences.
| Feature | DIY Wooden Foundation | Store-Bought Box Spring |
|---|---|---|
| Cost | $40–$50 | $140–$200+ |
| Sag Resistance | Excellent | Poor over time |
| Noise Level | Silent | Often creaks |
| Custom Fit | Yes | Standard only |
| Lifespan | 10+ years | 5–7 years |
Maintain Your Wooden Foundation for Years
Your new wooden base requires very little upkeep compared to fabric-covered alternatives. Proper care ensures it outlasts multiple mattresses.
Routine Maintenance Tips
- Tighten loose screws every 6 to 12 months.
- Wipe with a dry cloth to remove dust.
- Avoid excessive moisture which can warp the wood.
- Enjoy the benefit of a dust-mite-resistant sleeping surface.
Frequently Asked Questions About Building Wooden Box Springs
How much does it cost to build a wooden box spring?
Building a queen-size wooden foundation typically costs between $40 and $50. This includes lumber, screws, and glue, offering significant savings over retail prices.
Do I need special woodworking skills to build this?
No, this project is beginner-friendly. If you can use a drill and follow basic cutting measurements, you can successfully build a sturdy box spring.
Can I adjust the height for under-bed storage?
Yes, you can customize the height by adding legs or stacking additional 2×4 layers. A height of 14 inches allows ample space for storage bins.
Why is my new box spring still making noise?
Noise usually results from missing wood glue or loose screws. Ensure all joints have glue and that every screw is tightened securely.
What size lumber do I need for a queen mattress?
For a queen size, cut three 2x4s to 79 inches and eleven to twelve 1x4s to 60 inches. Adjust lengths slightly if your specific bed frame requires it.
How long does it take to build a DIY box spring?
Most people complete the project in a few hours. This includes cutting lumber, assembling beams, and installing the final decking slats.
Key Takeaways for Building Your Wooden Box Spring
Building your own foundation saves money and provides a custom fit for your bedroom. By using solid 2×4 beams and wood glue, you create a silent base that resists sagging better than store-bought options. You also gain the flexibility to adjust height for storage or accessibility needs.
Start your project today by gathering your lumber and tools. With just a few hours of work, you will have a durable, high-quality foundation that supports better sleep for years to come.