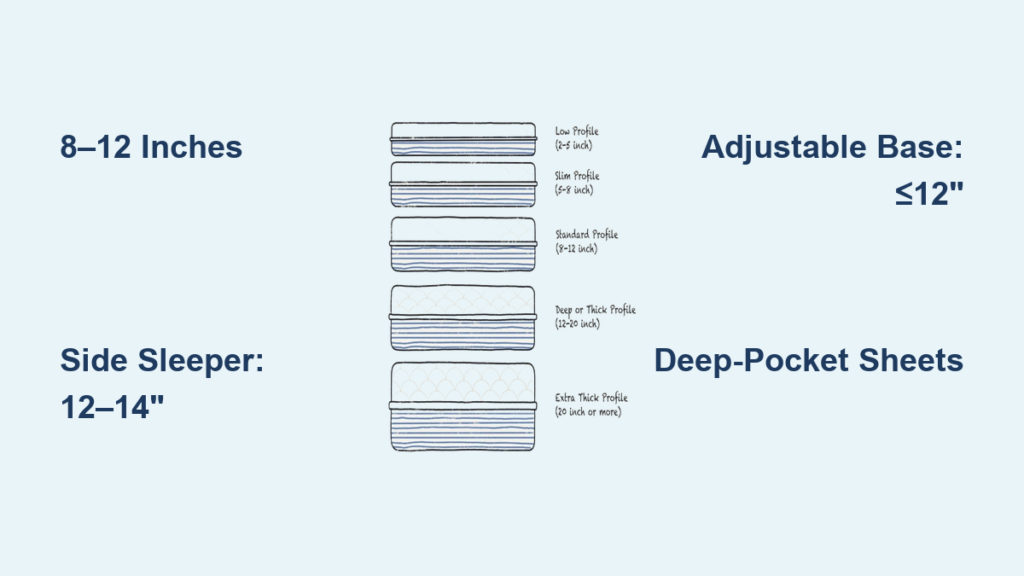
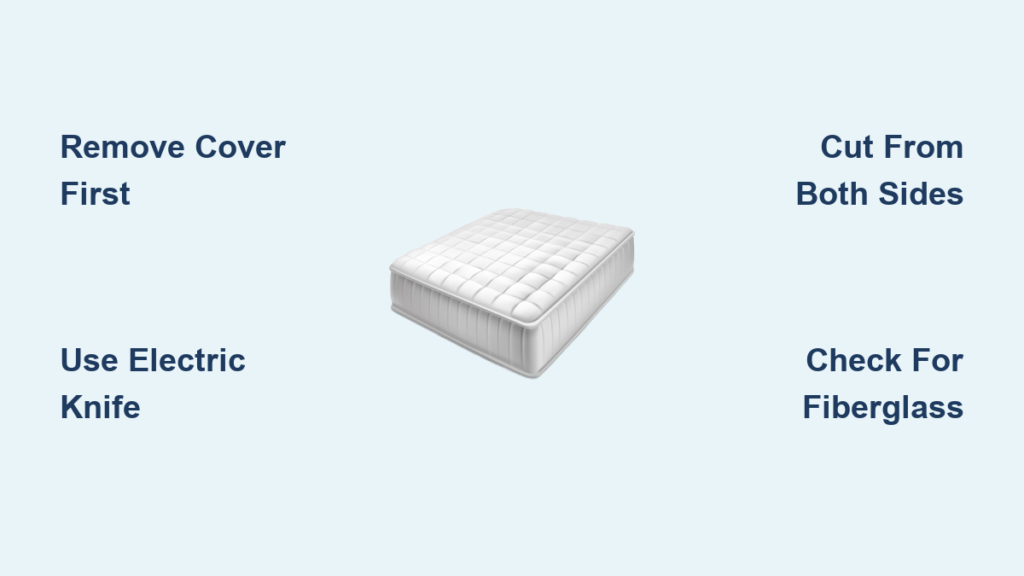
Cutting a thick foam mattress might sound extreme, but it’s a practical solution for fitting oversized mattresses into RVs, camper bunks, vintage bed frames, or custom enclosures. Whether you’re reducing height to eliminate a step stool, trimming length for a snug fit, or repurposing foam for pet beds and DIY projects, a clean cut is entirely achievable at home with the right tools and technique.
This guide walks you through every step: from selecting the best cutting tool and avoiding fiberglass exposure, to measuring accurately, executing a straight cut, and reassembling the cover. With insights from sleep specialists and real user experiences, you’ll learn how to cut thick foam cleanly, safely, and successfully without damaging your investment.
Choose the Right Tool for Cutting Foam Mattress
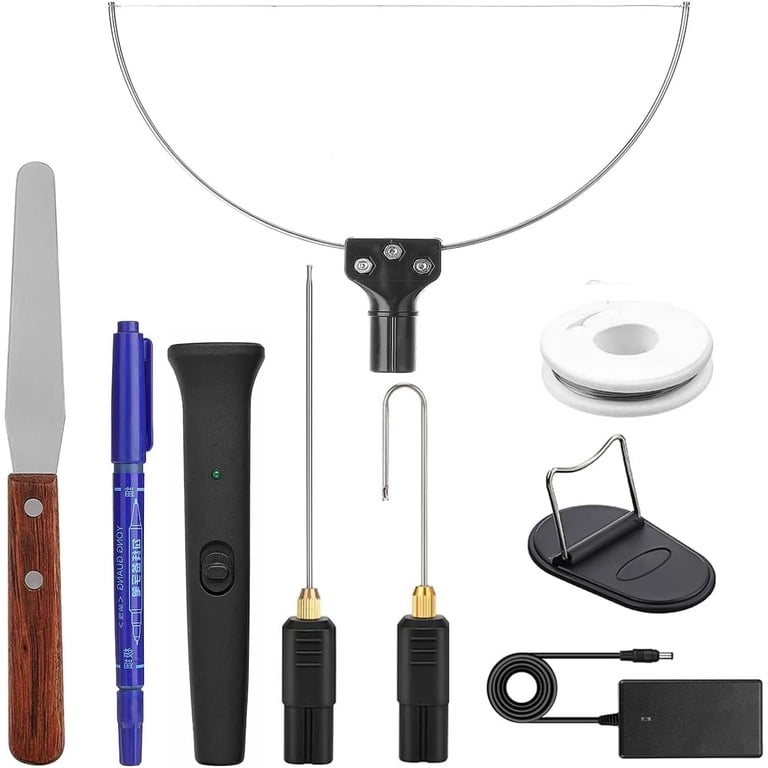
The tool you use determines cut quality, effort, and safety, especially on 8″, 10″, or 12″ foam. Skip the utility knife or scissors because they’re too short and compress foam instead of cutting cleanly. Instead, pick a tool designed for deep, smooth slicing.
Electric Carving Knife: Best for Most Users
An electric turkey carving knife is the top choice for DIYers. Priced between $25 and $60, its oscillating serrated blades slice through memory foam with minimal pressure, reducing fatigue and wobbling.
• Pros: Affordable, widely available, cuts cleanly with steady motion
• Cons: Blade length (6 to 8 inches) may not reach full depth in 12″ foam; cut from both sides
• Pro Tip: Let blades cool every few minutes to prevent overheating
Long Serrated Bread Knife: Manual Alternative
If you don’t have a power tool, a 10+ inch serrated bread or cake knife works well. Use long, smooth sawing motions like slicing a loaf. Cut halfway from top, flip, and finish from bottom. Mark the line on all four edges to stay on track. Avoid short, choppy strokes because they create wavy edges.
Hot Wire Foam Cutter: Effortless for Thick Foam
For 12″ foam or users with limited strength, a hot wire cutter melts through foam with zero resistance. Price ranges from $100 to $600. The pros include one-pass cuts, smooth sealed edges, and minimal effort. The cons include fumes, so use in a well-ventilated area. This method is not ideal for sleep surfaces because melting alters breathability and may increase off-gassing.
Tools to Avoid
• Utility knife: Blade too short; causes stepped, ragged cuts
• Circular saw or jigsaw: Tears foam, creates flying debris
• Scissors: Compresses foam; only works under 2 inches
• Non-serrated kitchen knife: Pushes foam aside instead of cutting
• Hot knife: Melts pores, releases fumes, ruins breathability
Remove the Mattress Cover Before Cutting
Never cut through the cover. Fabric jams blades, creates uneven edges, and risks exposing hazardous materials. Removing the cover first ensures a cleaner cut and protects you from hidden dangers.
Check for Fiberglass
Many budget foam mattresses include a fiberglass fire barrier beneath the cover. Cutting through it releases airborne particles that irritate skin, eyes, and lungs. Use a seam ripper ($5 to $10) to open seams carefully. Take photos before disassembly to guide reassembly. If the cover is zippered, unzip and remove it completely. Once the foam is exposed, inspect for zoned layers or gel infusion, as these affect cutting difficulty and post-cut performance.
Measure the Space for Accurate Cuts
Cutting a mattress you can’t un-cut. Always measure the bed frame or alcove, not the old mattress, because corners may be uneven or compressed over time.
Marking the Cut Line
Use a measuring tape, long straight edge, and washable marker or tailor’s chalk. Mark the line on top, bottom, and all four sides for visibility during cutting. For L-shapes or curves, make a cardboard template and trace it. Measure the opening, not the old mattress. Let the foam fully decompress first.
Compress Foam Before Cutting (Optional)
For thick foam (10″+), press a long board along the marked line to create a guide channel. This helps maintain straightness and reduces blade drift. Use two clamped boards on either side of the cut line for maximum stability.
Cut Thick Foam Step by Step
For 8 to 10 Inch Foam: Single-Side Cut
For electric knives: Power on before contact. Guide slowly with vertical blade (90 degrees). For serrated knives: Use long, smooth strokes. Let the serrations do the work. Move at a steady pace because rushing causes crooked lines.
For 12 Inch Foam: Cut from Both Sides
Cut halfway from the top. Flip the mattress. Align the blade with the existing groove and finish from the bottom. This prevents blade binding and ensures a straight cut.
Latex Foam: Extra Caution Needed
Latex is dense, elastic, and grips blades, making it the hardest to cut. Use an electric carving knife because manual tools often fail. Apply steady, smooth pressure. Chill foam overnight to firm it up before cutting.
Smooth and Finish Cut Edges
Even clean cuts may have minor bumps or loose fibers. Stand the foam on its side and inspect. Trim imperfections with a sharp utility knife. Shave high spots lightly. Compress and shape by hand to smooth irregularities. Most edge flaws disappear once the cover or protector is back on. Focus on structural integrity, not perfection.
Reassemble or Replace the Mattress Cover

A loose or damaged cover compromises comfort and hygiene. If the cover fits, slide the trimmed foam back in. Fold excess fabric under and pin temporarily with safety pins. For a permanent fix, sew the excess with heavy-duty thread.
If the cover is too damaged, sew it closed with an upholstery needle. Replace with a new zippered cover available online in standard and custom sizes. Use a 6-sided waterproof protector to cover seams and prevent dust buildup. Ensure the new cover allows breathability because trapped heat reduces comfort.
Maintain Comfort After Cutting
A well-cut foam mattress performs like the original if handled correctly. The cut edge must be fully supported by the frame with no overhang. Use a solid platform or slatted base with slats no more than 3 inches apart.
Foam under 6 inches loses structural integrity and support. If you’re cutting down a 12-inch mattress, ensure the final height is at least 6 to 7 inches for comfortable sleep. Rotate every 3 to 6 months to prevent uneven wear. Lightly dust the cut edge with cornstarch or talcum powder if it feels tacky or retains odor.
Avoid Common Cutting Mistakes
Even experienced DIYers make preventable errors. Always measure the bed frame or enclosure, not the mattress, because mattresses compress over time and your old dimensions are unreliable.
Memory foam softens with heat, leading to ragged cuts. Let foam cool to room temperature or chill overnight. Cold foam cuts cleaner and resists deformation. Pushing the blade too hard causes wobbling and uneven edges. Let the tool do the work with gentle, consistent motion.
Some mattresses have firmness zones (softer in hips, firmer in lumbar). Cutting disrupts this design and compromises spinal alignment. Avoid cutting if your mattress has zoned construction.
Safety Precautions When Cutting Foam Mattress
Cutting foam exposes you to dust, VOCs, and potential fiberglass. Required PPE includes cut-resistant or heavy-duty work gloves, safety goggles, an N95 mask if handling fiberglass or working indoors, and long sleeves, pants, and closed shoes.
Work in a garage, shed, or outdoors. Open windows and use fans. Let the cut mattress air out 24 to 48 hours before use. Place plywood or drywall under the mattress to prevent sagging and protect flooring.
When to Consider Alternatives to Cutting
Before modifying your mattress, consider buying the correct size. RV-friendly sizes include Short Queen (60″x75″) and Twin XL. Order custom-cut foam from foam suppliers who cut to exact specs for $20 to $50 without DIY risk. Use a topper that’s easier to trim than a full mattress. Adjust bed height by lowering the frame instead of cutting the mattress. Visit a mattress store for experts to advise on non-standard sizes or special orders.
Frequently Asked Questions About Cutting Foam Mattress
Can I cut a memory foam mattress at home?
Yes, you can cut a memory foam mattress at home using an electric carving knife or long serrated bread knife. Remove the cover first, measure carefully, and cut slowly for the best results.
Will cutting my foam mattress void the warranty?
Yes, cutting a foam mattress typically voids the manufacturer warranty. Always verify warranty terms before proceeding with any modification.
What is the minimum thickness for a foam mattress after cutting?
Foam under 6 inches loses structural integrity and support. Ensure your final mattress height is at least 6 to 7 inches for comfortable sleep.
How do I avoid fiberglass when cutting my mattress?
Use a seam ripper to remove the cover before cutting. Check for fiberglass layers beneath the cover and avoid cutting through them. Wear an N95 mask and ventilate the workspace.
Can I use a regular kitchen knife to cut thick foam?
No, regular kitchen knives compress foam instead of cutting it cleanly. Use an electric carving knife, long serrated bread knife, or hot wire foam cutter for best results.
How long does it take to cut a thick foam mattress?
The cutting process takes 30 minutes to 2 hours depending on foam thickness and your experience. Allow additional time for measuring, cover removal, and post-cut air out.
Key Takeaways for Cutting Your Foam Mattress
The best tool for cutting foam mattress is an electric carving knife for most users, or a hot wire cutter for thick foam over 10 inches. Always remove the cover first and check for fiberglass before cutting. Measure the space, not the mattress, and cut from both sides for foam over 8 inches thick. Maintain a minimum thickness of 6 inches for proper sleep support. Remember that cutting voids your warranty, so verify before starting. After cutting, allow 24 to 48 hours for off-gassing, use a protective cover, and rotate the mattress every 3 to 6 months.
With careful preparation and the right technique, cutting a thick foam mattress is a safe, cost-effective solution for non-standard spaces. Whether you’re fitting a camper bunk or repurposing foam scraps, this DIY project can extend your mattress’s life without sacrificing comfort.