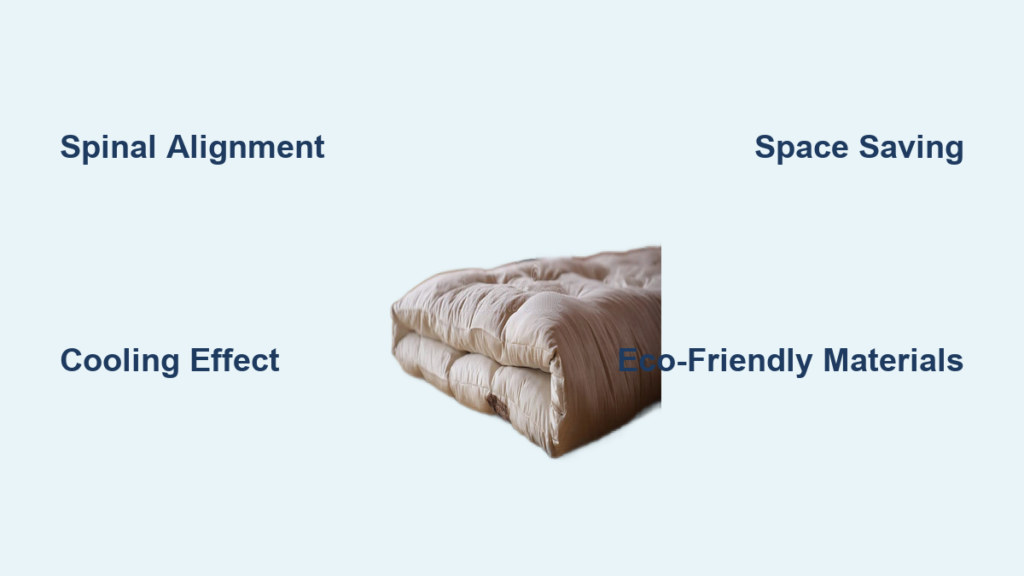

If you’re looking for a space-saving, customizable, and eco-friendly sleeping solution, learning how to make a futon mattress is a smart DIY project. Whether you’re furnishing a studio apartment, tiny home, or guest room, a handmade futon offers firm support, natural materials, and significant cost savings. This guide walks you through selecting the right fabric and fillings, assembling a durable mattress, and customizing it for your specific comfort needs.
Choose Your Futon Style for Your Space
Japanese Shikibuton vs. Western Futon Designs
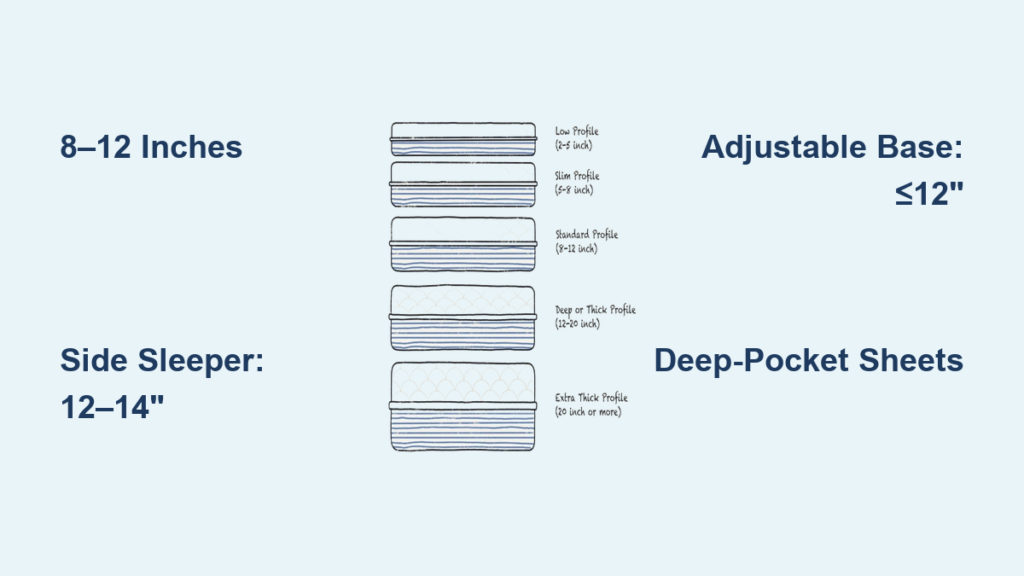
Decide between a Japanese-style shikibuton and a Western-style futon based on your space and use case. The Japanese version is thin (2–4 inches), lightweight, and designed for daily folding and floor use, making it ideal for tatami rooms or minimalist interiors. It emphasizes natural fibers like cotton and wool for breathability and spinal alignment. Western futons are thicker (6–10 inches), built for metal or wooden frames, and often double as couches. They may include foam or coil layers for extra comfort. Your choice affects material needs, construction method, and long-term maintenance.
Measure Your Space Before Buying Materials
Measure your sleeping area or frame precisely before cutting materials. Standard sizes include Twin (38″ x 75″), Full (54″ x 75″), and Queen (60″ x 80″), but Japanese futons are typically smaller (37″ x 72″). Add 1–3 inches per side for seam allowance and quilting. If building for a foldable frame, ensure the mattress thickness allows smooth operation. Overly thick builds can strain hinges and make folding difficult. For floor sleepers, prioritize breathability and ease of movement. For couch beds, focus on edge durability and support.
Select Durable Outer Fabric
Best Fabrics for Long-Lasting Futon Construction
Use heavy-duty, breathable fabric that withstands daily folding and body weight. Organic cotton canvas (10–12 oz/yd²) is ideal for traditional builds because it is durable, eco-friendly, and easy to sew. Cotton twill or drill offers similar strength with less stiffness. For Western-style or hull-filled futons, heavy stretch denim prevents shifting and contains loose fillings. Avoid thin cotton or polyester blends because they tear easily under pressure.
Prepare Fabric Before Cutting and Sewing
Always pre-wash your fabric to prevent shrinkage after construction. Cut two identical panels using a rotary cutter and straight edge for clean, square corners. Misaligned cuts cause puckering and weak seams. Use light-colored fabrics like beige or white for easy inspection of wear and moisture. If sustainability matters, choose GOTS-certified organic cotton or upcycled upholstery fabric to reduce environmental impact.
Pick the Right Filling Material

Natural vs. Synthetic Options for Futon Comfort
Your filling determines comfort, support, and lifespan. Natural fibers like cotton, wool, and coir are breathable, hypoallergenic, and biodegradable. Synthetics like memory foam or polyurethane offer firm support but trap heat and degrade faster. For health and eco-conscious builds, prioritize organic materials. Wool resists dust mites. Cotton wicks moisture. Buckwheat hulls contour naturally to your body. Foam is cheaper upfront but often requires replacement within 3–5 years due to body impressions.
Layer Your Futon for Optimal Comfort and Support
Use a hybrid layering strategy to balance firmness and airflow. Start with a base layer of rubberized coir or wool to prevent bottoming out and add spring. Add a middle layer of cross-layered cotton or wool batting for even density and temperature control. Finish with a top layer of buckwheat or hemp hulls for contouring and pressure relief. This modular design lets you swap layers seasonally. Remove hulls in winter for a softer feel. Add them in summer for cooling.
Cut and Assemble the Casing
Measure and Cut Fabric Panels Precisely
Lay your fabric flat and mark dimensions with chalk or washable pen. For a Twin futon (38″ x 75″), cut two panels at 40″ x 77″ to allow 1-inch seam allowance per side. Use a T-square to ensure 90-degree corners. This prevents twisting during sewing. If making a petakata cover (traditional Japanese fitted cover with a torso hole), cut a central rectangle (12″ x 24″) in one panel before assembly.
Sew Strong Perimeter Seams
Use a heavy-duty sewing machine with a walking foot to handle thick layers. Place panels right sides together and pin or clip edges. Sew three sides with a 1-inch seam allowance, leaving one short end open for turning and stuffing. Reinforce corners with backstitching to prevent splitting. Use polyester or bonded nylon thread. Cotton thread snaps under tension. After sewing, trim seam edges at 45-degree angles to reduce bulk.
Insert and Layer the Fillings

Build Your Futon from Bottom Up
Start with the densest materials. Place rubberized coir or foam base first, ensuring it fits snugly without gaps. Add wool or cotton batting in sheet form, alternating fiber directions between layers (horizontal over vertical) for uniform thickness. Smooth each layer by hand to eliminate lumps. For extra lumbar support, add an additional batting layer in the center third of the mattress.
Add Loose Fillings Without Clumping
If using buckwheat or hemp hulls, fill incrementally through the open end. Pour small amounts, distribute evenly with your hands, and press into corners. Overfill by 5–10% to account for compression over time. Avoid mixing hulls directly with fiber layers. Use separate compartments or tubes to prevent migration. For a no-shift design, consider the tube-and-chain method. Sew old sheets into 5-inch wide tubes, fill loosely with hulls, and link them like chainmail.
Reinforce Your Futon to Prevent Shifting
Stitch Layers Together for Stability
After closing the casing, add vertical or horizontal stitching every 12–18 inches to lock layers in place. Use a long needle and heavy thread to penetrate all layers. This prevents fiber migration and maintains even thickness. For Western-style futons, stitch across the center where the frame folds to reduce stress.
Apply Tufting for Long-Term Shape
Apply corner or grid-pattern tufting using waxed cotton twine. Space tufts 6–8 inches apart in a checkerboard layout. Push the needle through the entire mattress, knot securely on both sides, and trim excess. Tufting prevents batting from settling into valleys. Note that natural fillings compress in the first few weeks. Re-tighten tufts after 30 days for a perfect fit.
Customize for Seasonal Comfort
Swap Layers for Climate Control Throughout the Year
Design your futon to be modular. Use removable toppers so you can adjust firmness and warmth. In summer, use a buckwheat hull topper for airflow. In winter, replace it with a wool batting layer for insulation. Store off-season layers in breathable cotton bags. Never use plastic, which traps moisture and causes mold.
Adjust Firmness Based on Personal Preference
If the mattress feels too firm, add a top layer of soft cotton batting. If too soft, insert a thin coir pad or horse hair blend underneath. Test comfort by lying on it for 10–15 minutes. Make adjustments before final quilting or tufting. For personalized support, add extra padding under hip or shoulder zones.
Set Up Your Japanese Floor-Sleeping Futon
Use the Traditional Petakata Cover System
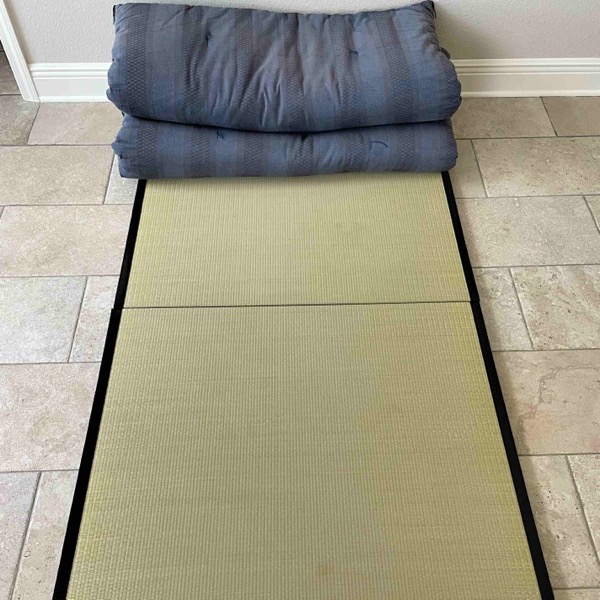
Traditional Japanese futons use a petakata, which is a fitted cotton cover with a central hole (12″ x 24″). After placing your shikibuton on the floor, cover it with a thin cotton sheet, then the petakata. Tuck the corners under the mattress. The hole aligns with your torso, allowing arm movement and airflow to your upper body. This prevents the cover from slipping and enhances comfort.
Complete the Full Shikibuton Sleep System
Layer your futon in this order. First, place a tatami mat or breathable floor protector. Second, add your shikibuton (the handmade mattress). Third, lay a white cotton sheet. Fourth, cover with the petakata. Fifth, add a kakebuton (duvet). Sixth, place a buckwheat-filled pillow (makura). Sleepers insert their arms through the petakata hole for ergonomic positioning. Always air out the futon daily by standing it upright. This prevents mold and extends lifespan.
Maintain and Extend Your Futon’s Lifespan
Clean Your Futon Without Damaging Fillings
Never machine wash or soak your futon. This ruins batting structure. Spot clean with a damp cloth and mild soap. For odors, sprinkle baking soda, wait 30 minutes, then vacuum thoroughly. Air it in sunlight for 2–4 hours monthly to kill bacteria and refresh fibers. Avoid steam cleaning, which can felt wool or compress cotton.
Store Your Futon Properly After Use
Fold or roll Japanese futons daily and store vertically in a breathable cotton bag. Avoid plastic, which traps moisture and causes mold. Western futons should stay unfolded when in use. Constant folding wears seams. Rotate the mattress head-to-foot every 3 months to prevent uneven compression.
Know When to Replace Fillings and Upgrade Materials
Replace Fillings While Reusing the Casing
Natural materials last longer with proper care. Cotton batting lasts 3–5 years. Wool lasts up to 7 years. Foam cores degrade in 3–5 years, developing body impressions. Instead of discarding the whole mattress, replace the filling and reuse the strong outer casing. This saves money and reduces waste.
Upgrade with Advanced Materials for Better Comfort
Once comfortable with basic builds, try luxury blends like 50% horse hair plus 50% coir for cloud-like resilience. Or experiment with industrial wool scraps available in 100-pound bales at low cost. These dense, clean byproducts offer excellent support and outperform retail batting.
Frequently Asked Questions About Making a Futon Mattress
How Much Does It Cost to Make a Futon Mattress?
DIY futon construction costs $80–$300 depending on materials, compared to $150–$700 for retail models. This represents 40–60% savings, especially when using organic or natural materials.
What Is the Best Filling for a Comfortable Futon?
Wool and cotton batting provide excellent breathability and temperature regulation. Buckwheat hulls offer contouring support. A hybrid approach combining a coir base with cotton batting and a hull topper delivers the best balance of comfort and durability.
How Long Does a DIY Futon Last?
With proper care, a natural-filled futon lasts 5–7 years. Cotton batting requires replacement every 3–5 years. Wool batting can last up to 7 years. The outer casing typically lasts 5–7 years before needing replacement.
Can I Wash My Futon Mattress?
No, machine washing damages batting structure. Spot clean with mild soap and water. Air in sunlight monthly. Sprinkle baking soda for deodorizing, then vacuum thoroughly.
What Sewing Machine Do I Need to Make a Futon?
A heavy-duty sewing machine with a walking foot is essential. Standard machines struggle with thick layers. An industrial machine makes the job easier but is not required for beginners.
Is Floor Sleeping with a Futon Good for Your Back?
Japanese-style floor sleeping promotes spinal alignment when the futon provides adequate support. The key is using proper thickness and firmness. A well-made shikibuton with cotton or wool batting supports the natural curve of your spine.
Build a Custom Futon That Lasts for Years
Building a futon mattress empowers you to create a healthy, sustainable, and personalized sleep surface. By choosing natural materials like organic cotton, wool, and buckwheat hulls, you avoid the off-gassing found in mass-produced foam mattresses. Reinforce your build with proper stitching and tufting to prevent shifting and maintain shape over time.
The most important steps are selecting durable outer fabric, layering fillings strategically, and designing for repairability. A modular approach lets you swap layers seasonally and replace batting without discarding the entire mattress. This extends lifespan while reducing waste.
Start with a simple cotton-filled design to develop your skills, then advance to layered, tufted builds with hulls or luxury materials. With proper care, your handmade futon will provide firm, breathable comfort for years while costing 40–60% less than store-bought alternatives.