
Imagine sleeping on a bed you built yourself, free from chemicals, breathable, and made from natural materials that last decades. A handmade wool mattress delivers exactly that: a sustainable, hypoallergenic, and fully customizable sleep surface tailored to your comfort. This guide walks you through every step of building your own wool mattress from scratch, using only organic materials and time-tested techniques.
Choose the Right Mattress Ticking
Your ticking is the foundation of a durable wool mattress. It must be strong enough to hold wool or latex without sagging, yet breathable enough to maintain temperature regulation throughout the night.
Select a High-Quality Fabric
Use 100% organic cotton knit ticking for flexibility and washability. Linen offers a firmer feel and superior durability, while virgin wool ticking adds extra insulation and natural flame resistance. Avoid synthetic blends because they trap heat and reduce breathability.
Pick the Best Zipper Design
Opt for a three-sided zipper for full access during filling. For future upgrades, choose expandable knit ticking with a second zipper that opens the mattress like a suitcase. This design allows you to add more wool, switch to latex, or refresh compressed fill years later.
Customize Size and Edge Style
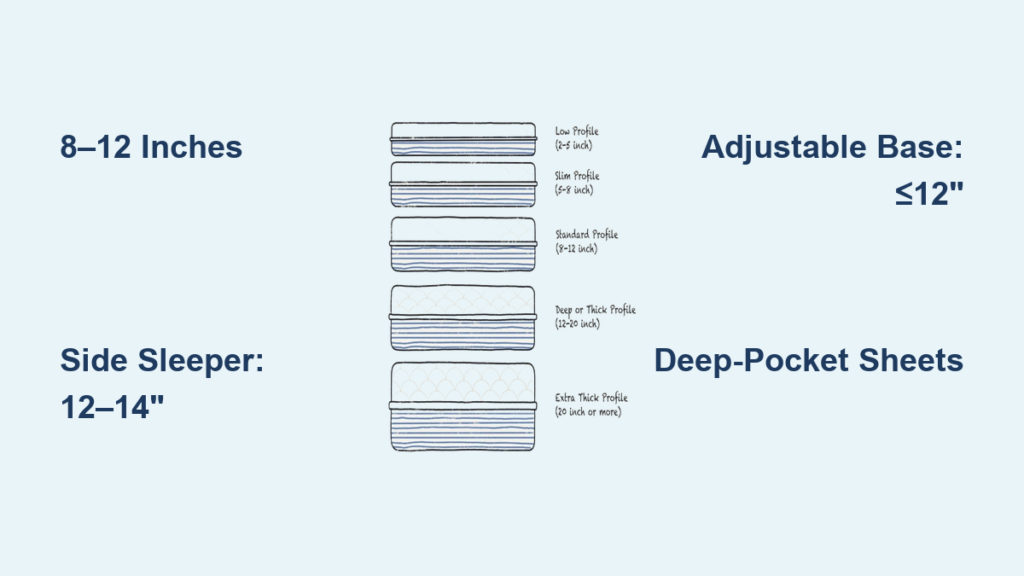
Standard sizes like Twin, Queen, and King are readily available, but custom dimensions ensure a perfect fit for your bed frame. Add full piping for a polished look or go minimalist with no piping. Handles on the sides make flipping and moving your mattress much easier.
Prepare Your Wool Batting
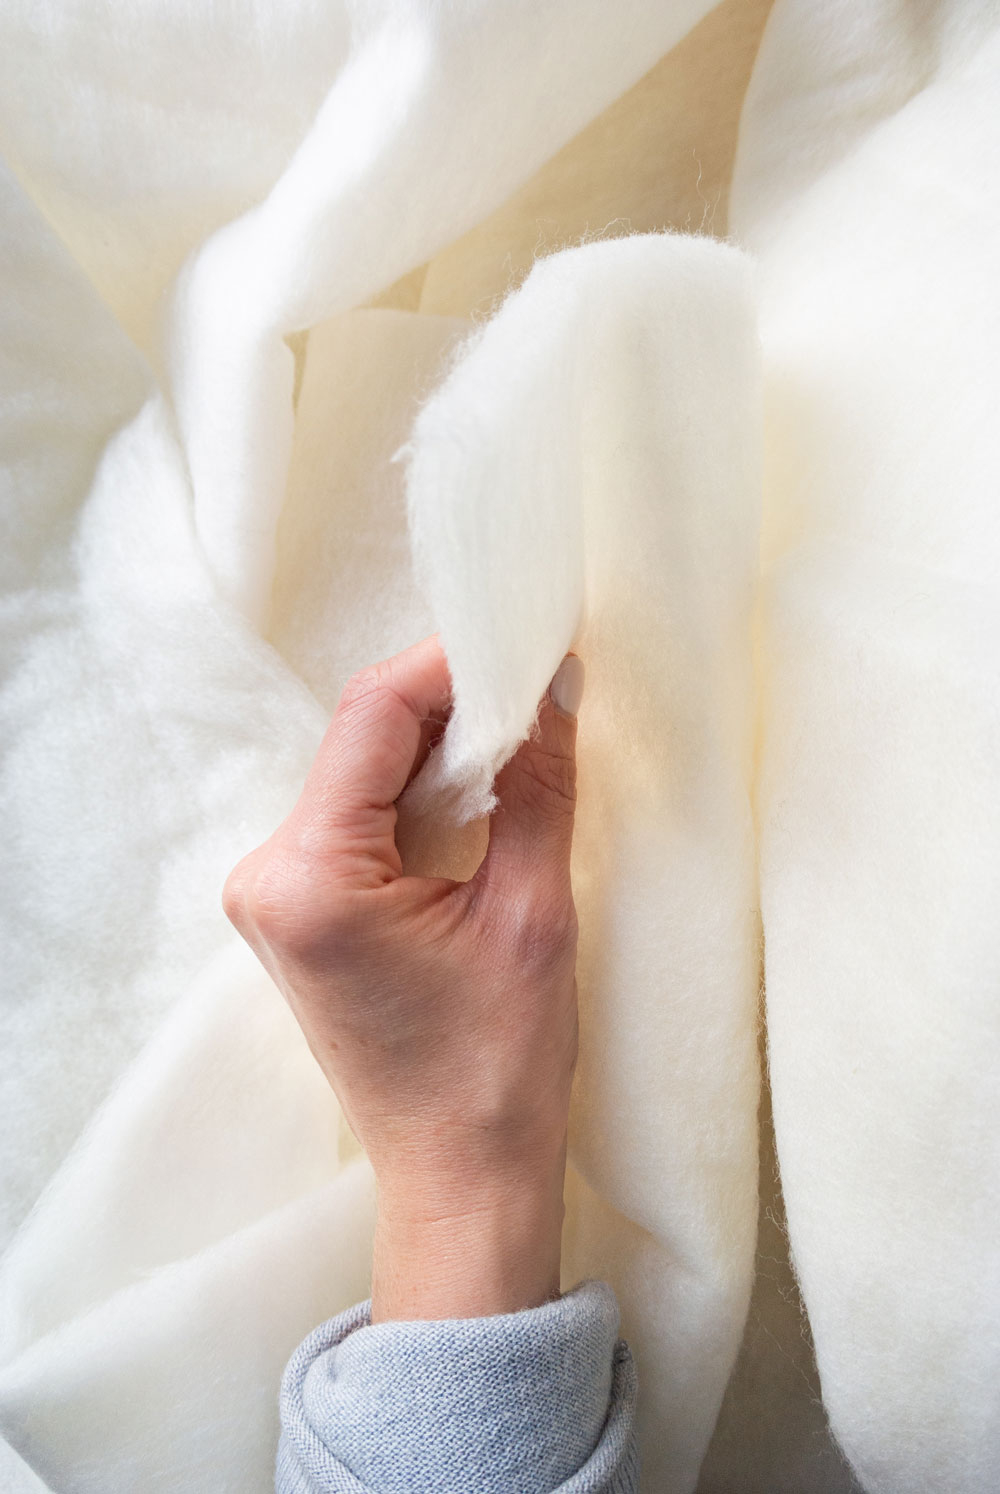
Raw wool batting arrives compressed in trifold rolls and needs careful preparation to restore its natural loft and eliminate lumps that could cause discomfort.
Unfold and Separate Layers
Lay the wool flat and unfold it sideways to avoid creasing. Identify fold lines along the edges, which show where layers were pressed together during manufacturing. Gently peel them apart and remove the thin tissue paper between sheets, as it compresses over time and will not affect comfort.
Stretch and Smooth Thoroughly
Work each layer by hand, stretching it evenly across its full width. Smooth out any clumps or air pockets. This step is critical because uneven wool leads to soft spots and discomfort. Let the material rest overnight if needed to regain full resilience.
Estimate Quantity by Size
For a Queen mattress measuring 60″ x 80″, plan for approximately 12 to 15 pounds of wool batting per inch of thickness. A 3-inch thick mattress requires about 40 to 45 pounds total. Buy extra because unused wool can be stored for repairs or future expansion.
Fill With Natural Materials
The filling determines your mattress firmness and support. Layering is the key to success, so never stuff loosely like a pillow.
Use the Greek and Italian Layering Method
Place one full sheet of wool at a time into the ticking. Align it precisely with the edges and smooth it flat before adding the next layer. This method ensures even distribution and prevents shifting during use. For a Queen mattress, expect this process to take 6 or more hours.
Combine Wool With Latex
For added support, place a natural latex slab inside the ticking first. Then layer wool over the top. The latex expands slightly after unrolling, so fold excess wool around the edges to prevent bunching. The latex grippy texture helps lock wool layers in place.
Try Alternative Fills
The following materials offer different comfort profiles for your mattress.
• Cotton provides softness and a traditional plush feel
• Coir adds firmness and support (84 pounds used in one documented build)
• Kapok offers a plush vegan option
• Millet hulls provide firm, moldable support but may shift over time
Secure With Tufting
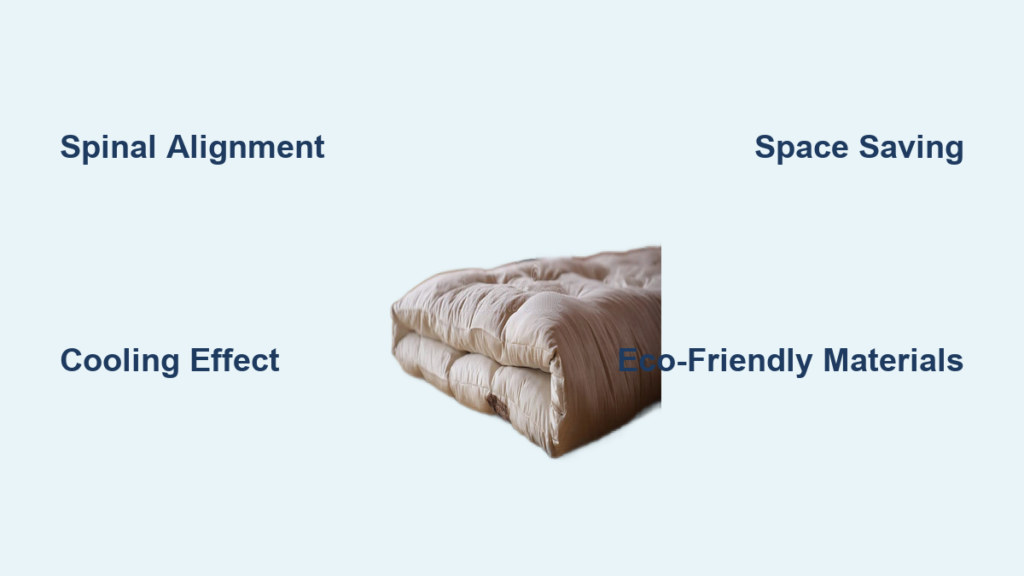
Tufting keeps the filling in place and gives your mattress a traditional finished look. Skipping this step risks lumps and uneven wear that shortens mattress life.
Gather Tufting Tools
Use the large needle and linen thread included in DIY kits. Wool bows are small decorative knots that anchor each tuft on the surface. Keep scissors and extra thread nearby for quick adjustments.
Insert Needle and Thread
Push the needle through the ticking from top to bottom at your chosen tuft point. Clear wool fibers from the eye before threading twine. Pull the thread through until a loop appears on top.
Create and Tighten Tufts
Slide a wool bow onto the loop, then pull both ends of the twine tight so the bow sits flush against the fabric. Knot securely underneath. Repeat across the mattress in a grid pattern.
Follow a Grid Pattern
Aim for 4 tufts across and 6 down, totaling about 20 tufts for a Queen mattress. Spacing does not need to be perfect because sheets will hide minor inconsistencies. Pre-marked kits help beginners maintain proper alignment.
Customize for Long-Term Use
Build flexibility into your design so your mattress evolves with your needs over time.
Build an Expandable Mattress
Use double-zipper ticking to open the case laterally. This lets you upgrade from 3 inches to 6 inches or replace wool with cotton or latex. This feature is ideal for changing seasons or aging bodies that need different support.
Add a Removable Protector
Include a wool protector layer to resist moisture and extend mattress life. It shields against sweat and spills without reducing breathability. Bundling a protector often saves about 20% compared to buying separately.
Mix Fabric and Fill Types
Combine linen ticking with wool fill for a cool, firm feel. Try wool felt ticking with cotton batting for a softer, washable surface. Experiment with layer order by placing wool on top for breathability and coir on the bottom for support.
Maintain for Decades
A wool mattress is not disposable. It is a lifelong investment, and proper care ensures it lasts 45 years or more.
Recondition Every 5 to 10 Years
Every few years, unzip and remove the wool. Send it to a local cardatore (wool dresser) to be fluffed and re-carded. Add fresh wool if volume has decreased, then restuff and re-tuft. In Paris, this service is available same day with morning pickup and evening return.
Clean Safely and Naturally
Spot-clean stains with mild soap and water. For deep cleaning, disassemble and hand-wash components. Never machine-wash unless the fabric is labeled as safe. Air-dry completely before reassembly to prevent mold.
Flip and Rotate Regularly
Turn the mattress every 3 to 6 months to prevent uneven compression. Rotate head-to-foot to extend wear evenly. Use a breathable cotton or linen sheet to reduce moisture buildup.
Avoid Common Mistakes
Even experienced builders make errors. Learn from others missteps to ensure your project succeeds.
Never Use Glue
Some online tutorials suggest gluing seams. Ignore this advice completely. Glue fails under pressure and creates toxic fumes. Always sew or zip your seams for lasting durability.
Do Not Skip Smoothing Steps
Rushing the layering process leads to lumps that cause discomfort. Take time to stretch and align each wool sheet perfectly. Uneven fill causes discomfort and premature sagging.
Avoid Over-Compression
Pressing wool too hard during assembly kills its loft and reduces breathability. Work gently and let the natural resilience do the job. Your mattress should feel fluffy, not compacted.
Do Not Ignore Sample Testing
Order fabric and wool samples before buying in bulk. Feel the texture, test washability, and assess odor. What looks good online may not suit your skin or sleep preferences.
Source Ethical, High-Quality Materials
Your mattress is only as good as its materials. Choose wisely to ensure comfort and durability.
Select Long-Staple Wool Breeds
Opt for wool from Texel, Suffolk, Clun Forest, Dorset Horn, or Blanc du Massif Central sheep. These breeds produce long, durable fibers ideal for bedding that withstands years of use.
Verify Certifications
Ensure materials meet these standards.
• 100% certified organic
• VOC-free
• Hypoallergenic
• Chemically flame-resistant without added retardants
• Biodegradable and recyclable
Buy From Trusted Suppliers
Home of Wool offers DIY kits starting at $456 USD with customer support and video tutorials. DIYNaturalBedding.com sells expandable cases, latex, and wool with phone support at 763-445-9676. Specialty retailers offer premium natural beds but expect to pay $2,000 or more for Queen sets.
Compare Wool vs. Conventional Mattresses
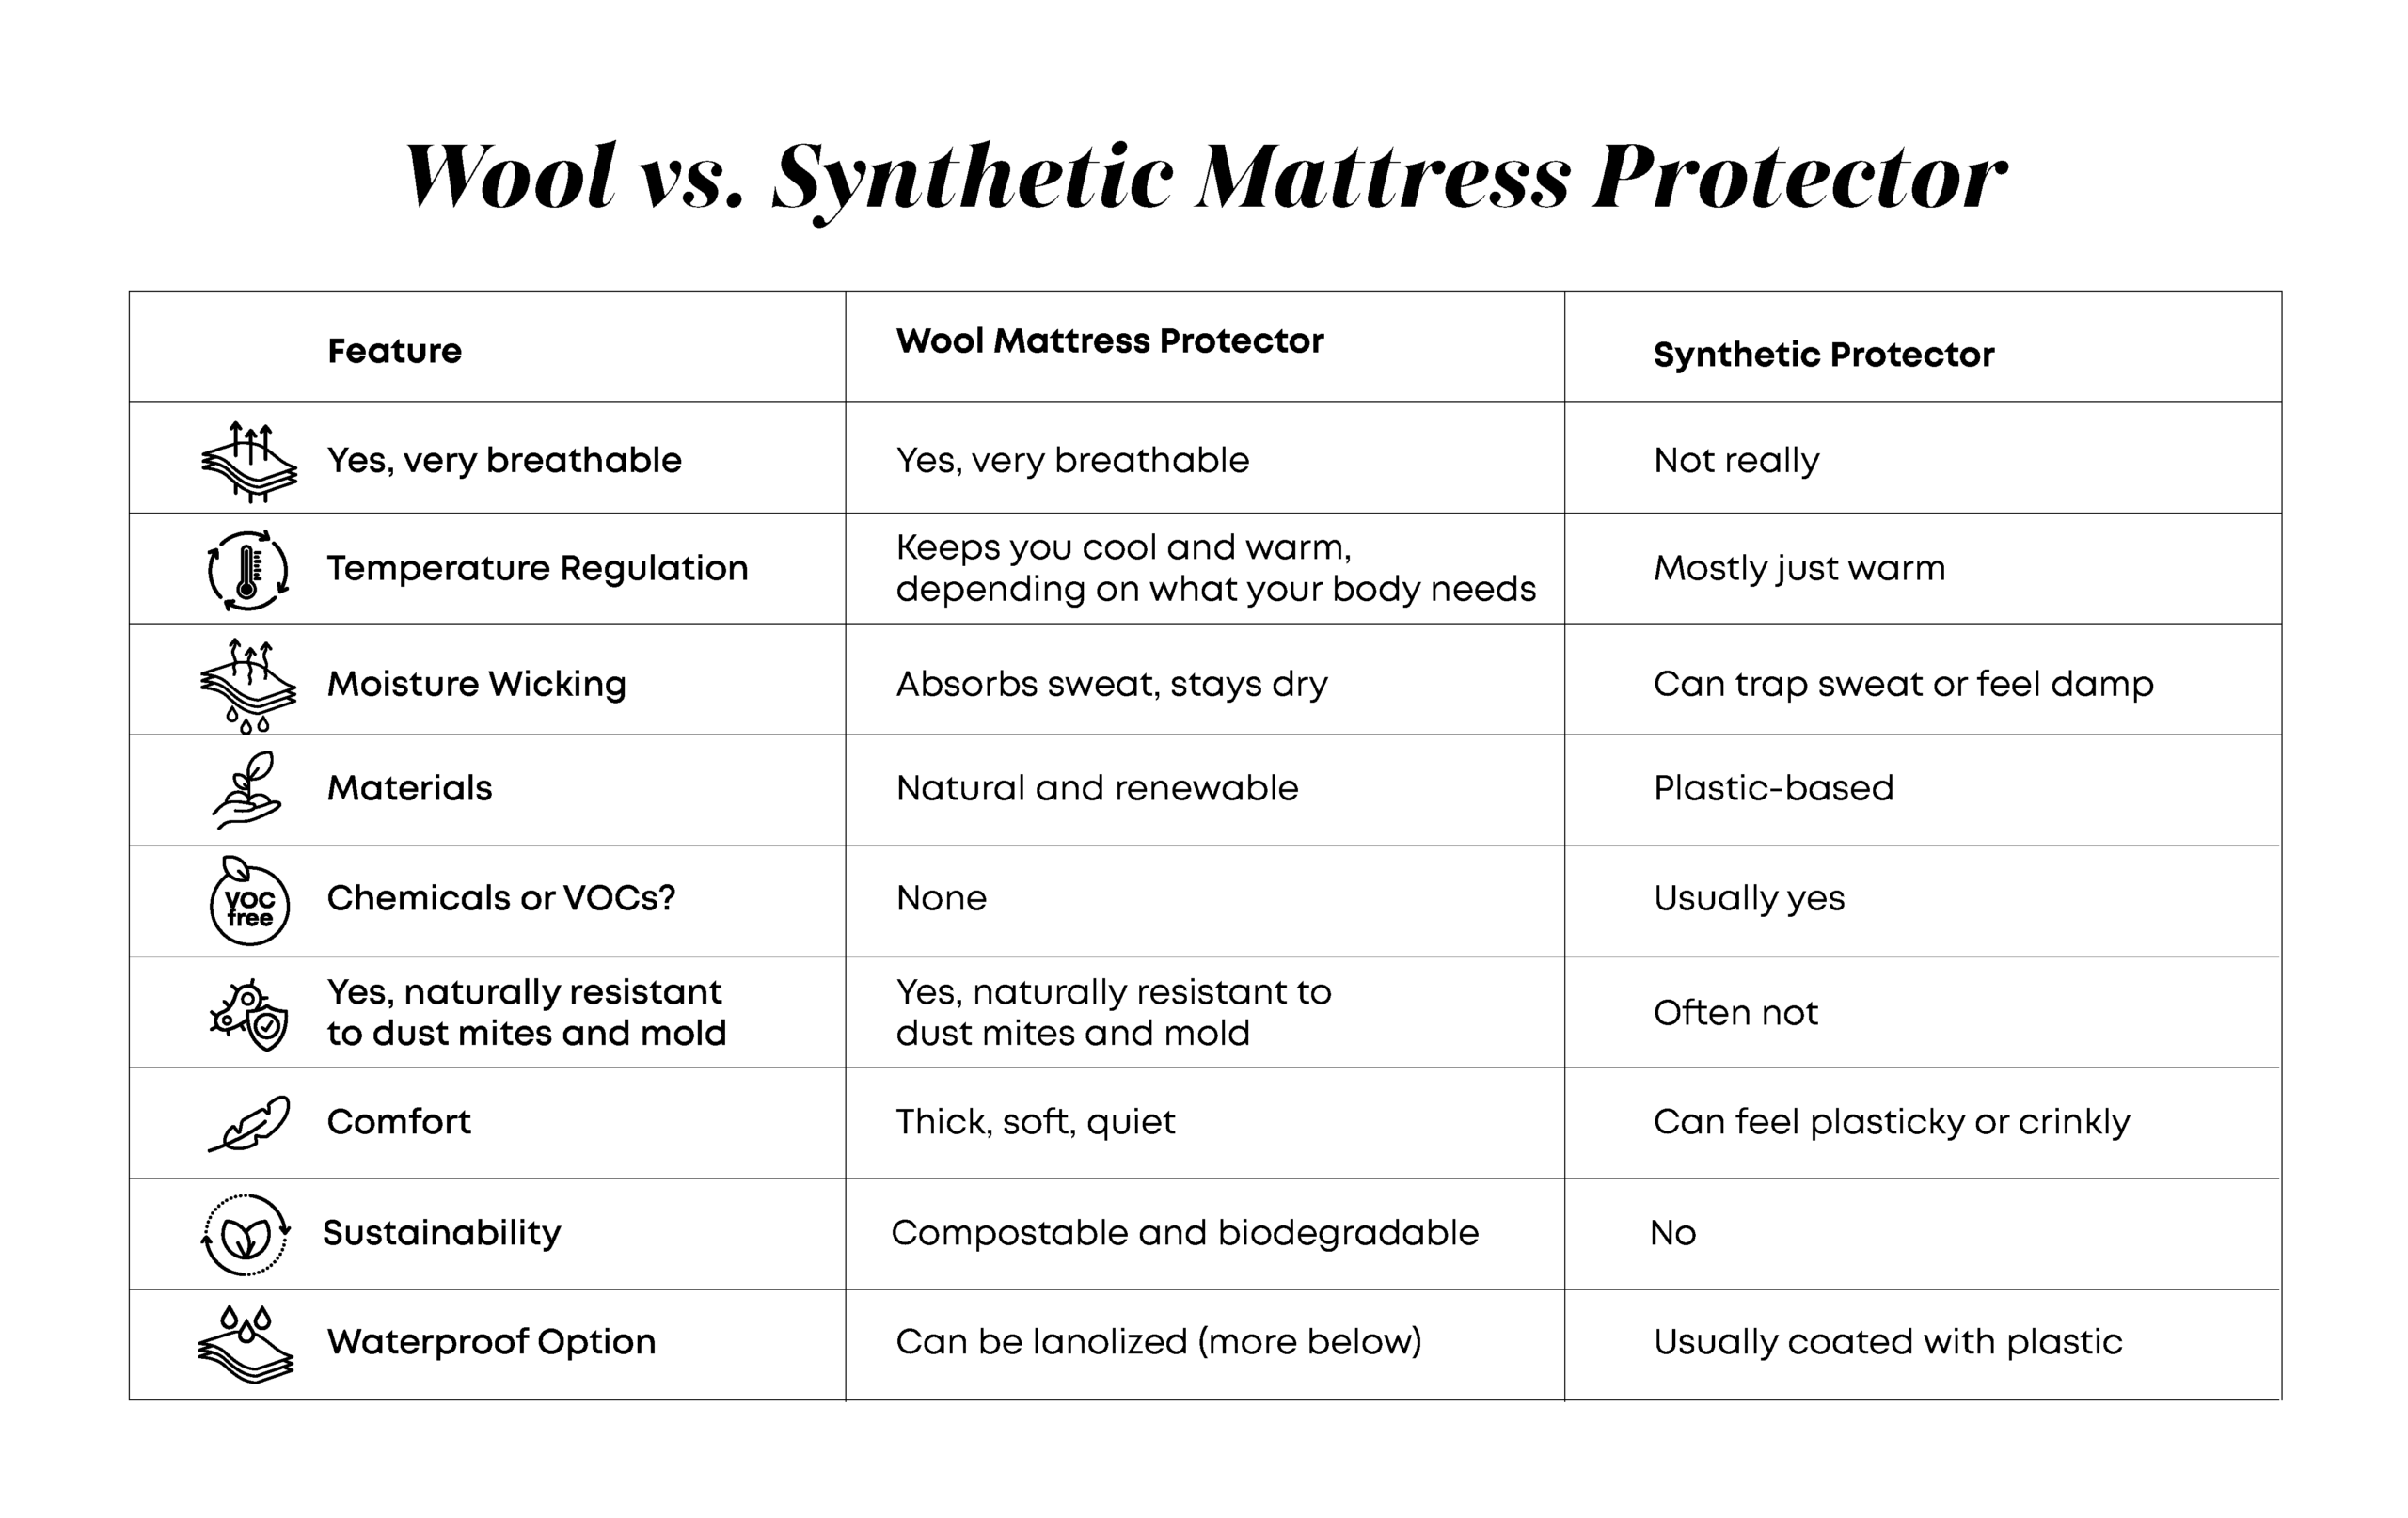
| Feature | Wool Mattress | Foam Mattress |
|---|---|---|
| Toxicity | Chemical-free | Off-gasses VOCs |
| Allergens | Hypoallergenic | May trigger allergies |
| Lifespan | 45+ years | 7 to 10 years |
| Repairable | Yes, refilling and re-carding | No, replacement required |
| Eco-Impact | Biodegradable | Landfill waste |
| Temperature Control | Naturally breathable | Heat-trapping |
| Flame Safety | Natural resistance | Chemical treatments |
| Customization | Fully adjustable | Fixed firmness |
Frequently Asked Questions About Making a Wool Mattress
How long does it take to make a wool mattress at home?
Filling a Queen-sized mattress with wool takes approximately 6 or more hours. Preparation of the ticking and wool batting adds additional time. Plan for a full weekend project if you are new to this process.
What tools do I need to make a wool mattress?
You need a tufting needle, strong linen thread, wool bows for anchoring tufts, scissors, and a clean workspace. Most DIY kits include the needle, thread, and bows. You will also need a bed frame or clean floor for assembly.
Can I add latex to my wool mattress for more support?
Yes. Place a natural latex slab inside the ticking before adding wool layers. The latex provides firm support while the wool adds comfort and breathability. Use medium-density latex (N28) for the best balance.
How do I maintain and clean a wool mattress?
Spot-clean stains with mild soap and water. Flip and rotate the mattress every 3 to 6 months. Every 5 to 10 years, have the wool re-carded by a professional to restore loft and freshness.
Is a DIY wool mattress cheaper than buying one?
Yes. DIY kits start around $456 USD, while comparable natural mattresses retail for $2,000 or more. The savings are significant, and you gain complete control over materials and customization.
Key Takeaways for Building Your Own Wool Mattress
Building a wool mattress is more than a DIY project. It is a commitment to health, craftsmanship, and sustainability. Start by choosing high-quality ticking with a zipper design that allows for future expansion. Prepare your wool batting carefully by stretching and smoothing each layer to prevent lumps. Use the layered filling method rather than loose stuffing, and secure everything with proper tufting in a grid pattern.
With the right materials, methodical layering, and proper tufting, you will create a sleeping surface that improves with age. Whether you are avoiding chemicals, reducing waste, or simply craving control over your comfort, this natural alternative outperforms conventional options in every way. Start small with a twin size, watch tutorial videos, and take pride in crafting a bed that lasts a lifetime.