Your bed suddenly sags in the middle or makes a loud cracking sound when you shift weight. This common failure usually means the central support beam inside your box spring has split or broken completely. Ignoring this issue ruins your mattress and guarantees a poor night’s sleep until you address the structural damage.
You can fix a broken box spring in under 30 minutes using basic tools and less than five dollars in materials. This guide explains how to replace the weak original wood with a denser board and secure it with screws and glue for lasting stability. You will learn to identify the break, remove the damaged strip, and install a superior replacement without buying a new frame.
Locate the Damaged Support Beam Inside Your Frame
Most box spring failures occur at the center where stress concentrations are highest over time. The main horizontal support usually consists of a 1×4 board running side to side that bears the brunt of your body weight. When this beam cracks, it causes immediate sagging, annoying noises, and uneven mattress support.
Signs Your Box Spring Frame Is Broken
- Visible sag in the middle section of the bed
- Popping or creaking sounds when lying down
- Lump or dip detectable through the mattress fabric
- Tears or bulges appearing in the box spring covering
Carefully inspect the underside of your bed frame to find the source of the noise. If you see frayed fabric, exposed wood, or a split along the central beam, the frame is compromised. Confirm the damage by pressing down on the center to see if it shifts or cracks further.
Remove the Old Support Strip Safely
You must safely remove the broken wood before installing a replacement to avoid damaging the rest of the frame. This step requires patience to ensure you do not tear the fabric or splinter the outer rails unnecessarily.
Tools You Will Need for Removal
- Pry bar
- Hammer
- Staple remover or flathead screwdriver
Step-by-Step Removal Process
- Lay the box spring flat on a clean surface with the fabric side down.
- Loosen the edge staples by running the pry bar along the perimeter to lift the fabric.
- Expose the broken beam by pulling back the mesh to fully access the central support.
- Unfasten all nails using the hammer claw or pry bar to free the old board.
- Pull out the damaged wood by gently wiggling and lifting the broken support free.
Inspect the side beams closely before proceeding with the repair work. If they are cracked or splintered, reinforce them with wood glue and clamps immediately. Only proceed if the outer structure of the frame remains solid and intact.
Cut and Install a Stronger Replacement Board

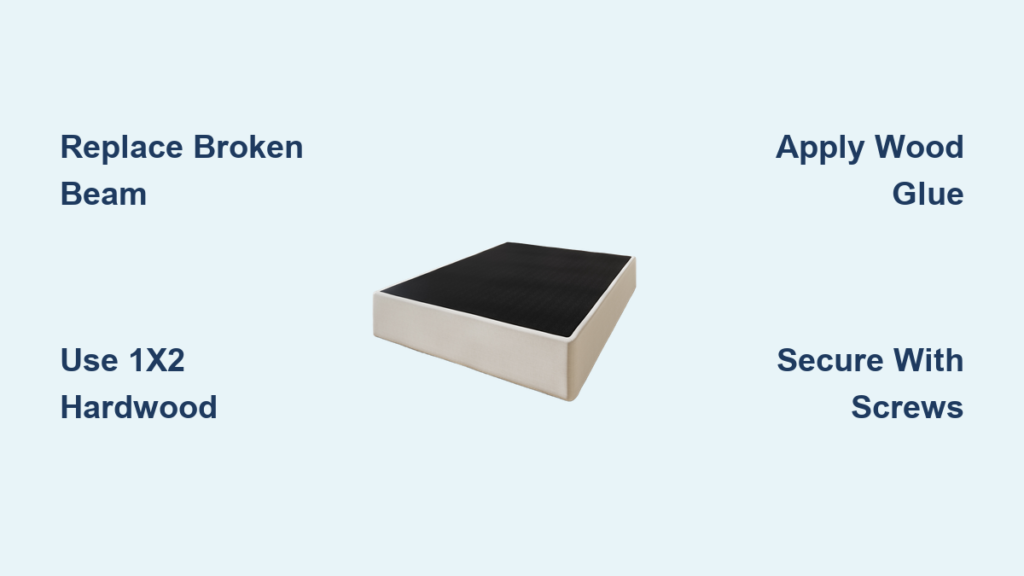
Replacing weak pine with a denser and more durable board is key to a long-lasting fix for your bed. A 1×2 hardwood or treated pine board offers superior strength and resists future splitting better than the original material.
Materials and Tools List
- 1×2 hardwood or premium pine board cut to length
- Measuring tape
- Circular saw or handsaw
- Wood glue
- 2.5-inch wood screws
- Drill with screwdriver bit
- Clamps for holding pieces steady
How to Fit the New Support Correctly
- Measure the original span to record the exact length between the two side beams.
- Cut the new 1×2 to size using a saw to make clean and square ends.
- Pre-drill screw holes through the side beams where they will meet the new board.
- Apply wood glue to spread a thin layer on both ends of the 1×2 board.
- Position and clamp the new board by sliding it into place securely.
- Drive in screws to attach the board with two screws per side without over-tightening.
Pro Tip: Opt for yellow construction-grade wood glue and coarse-thread wood screws for maximum hold. These materials create a bond that resists the constant movement of sleeping.
Reattach the Fabric and Test Stability
Once the new support is locked in, you must restore the box spring integrity by resecuring the fabric. Testing the repair ensures the bed is safe and ready for your mattress.
Fastening the Netting Back in Place
- Align the mesh smoothly over the frame edges without wrinkles.
- Use a staple gun to re-fasten every two to three inches around the perimeter.
- Tug gently on the fabric to ensure tension with no loose spots remaining.
Final Stability Check
- Flip the box spring upright to its normal position.
- Press firmly on the center with both hands to test resistance.
- Listen for creaks and watch for any movement in the new beam.
- Place the mattress back only if the frame feels solid and silent.
Warning: Never place the bed back in use if the frame feels unstable during testing. Recheck screw tightness and glue bonds if you detect any wobble.
Why a 1×2 Board Is Better Than a 1×4
It seems counterintuitive to downsize from a 1×4 to a 1×2, but the improvement lies in wood quality and reinforcement method. The width matters less than the density of the material and how you attach it to the frame.
Strength Comparison Table
| Feature | Original 1×4 | Upgraded 1×2 |
|---|---|---|
| Wood Type | Soft pine | Hardwood or dense pine |
| Fasteners | Nails only | Screws plus wood glue |
| Joint Strength | Weak and prone to split | Reinforced and shock-resistant |
| Longevity | Months | Years |
The original 1×4 failed due to low-density wood and reliance on nails that loosen over time. The 1×2 fix uses higher-density material and mechanical bonding to create a durable solution. This combination makes the narrower board significantly stronger than the original wide strip.
Prevent Future Box Spring Failures
A repair is not just about fixing damage but also boosting long-term performance for your bed. Taking extra steps now can prevent the need for another repair soon.
Reinforcement Tips for Longevity
- Add a center support leg if the bed is queen or king size to reduce stress.
- Place the bed on a solid foundation like slats or a platform for backup.
- Rotate the box spring every three to six months to even out wear patterns.
- Avoid sitting on the edge of the bed to prevent concentrated force on joints.
Bonus: Place a plywood sheet cut to size between the box spring and mattress for extra rigidity. This simple addition extends the lifespan of both your mattress and the repaired frame.
When to Replace Instead of Repair

Not every box spring can be saved, and knowing when to stop is important for your safety. Some damage is too extensive for a simple wood replacement to fix effectively.
Replace If You See These Issues
- Multiple support beams are cracked or broken
- Frame corners are broken, bent, or severely compromised
- Rust, mold, or severe fabric tears are present throughout
- Mattress already shows significant sagging or wear
A new box spring costs between eighty and two hundred dollars depending on the brand. If your current one has multiple issues, replacement may be more cost-effective long-term. However, for a single cracked beam, repairing saves over ninety percent of the cost.
Cost and Time Breakdown for This Fix
This repair is fast and nearly free compared to buying a new foundation for your bed. You can complete the entire process with items found at any local hardware store.
| Item | Estimated Cost |
|---|---|
| 1×2 hardwood board (8 ft) | $3.50 |
| 2.5-inch wood screws (pack) | $1.00 |
| Wood glue (portion used) | $0.50 |
| Total | Under $5.00 |
Time Required: 20 to 30 minutes
Skill Level: Beginner with basic tool experience
Tools Used: Drill, saw, pry bar, staple gun
No special skills or expensive parts are needed for this job. Smart material choices and proper technique are all you need to restore your bed.
Frequently Asked Questions About Fixing Box Springs
Can I fix a box spring without removing the mattress?
No, you must remove the mattress to access the underside and internal beams of the box spring. Attempting to repair it with the mattress on will prevent proper alignment and secure fastening of the new board.
What type of wood is best for replacing the support beam?
Hardwood or dense treated pine is best because it resists splitting better than soft pine. The original beams often fail because they use lightweight softwood that cannot handle repeated stress.
How long does it take to fix a broken box spring?
The entire process typically takes between 20 and 30 minutes for a beginner. This includes removing the old board, cutting the new piece, and securing it with glue and screws.
Is it worth fixing a box spring or buying a new one?
Fixing a single cracked beam is worth it as it costs under five dollars versus hundreds for a new unit. However, if multiple beams or corners are broken, buying a new box spring is the better option.
Will adding a plywood sheet stop the box spring from breaking again?
Adding a plywood sheet adds rigidity and distributes weight more evenly, which helps prevent future breaks. It acts as a secondary support layer that reduces stress on the central beam.
Key Takeaways for Fixing Your Box Spring
Fixing a broken box spring is a simple DIY project that saves money and extends the life of your bed. By replacing the weak original 1×4 beam with a denser 1×2 hardwood board, you create a stronger foundation that resists future cracking. Using wood glue and screws instead of nails ensures the repair lasts for years rather than months.
Gather your basic tools and a small amount of lumber to restore your bed today. This quick fix provides immediate relief from sagging and noise while protecting your mattress investment. Start by removing the fabric, swapping the beam, and testing your work for a solid night’s sleep.