Nothing ruins a good voyage faster than a lumpy, ill-fitting boat mattress. Off-the-shelf bedding rarely matches the odd angles and tight spaces of a marine berth, especially V-berths, quarter berths, or walk-around layouts. That is why more boaters are turning to DIY solutions to build custom boat mattresses that fit perfectly, sleep comfortably, and resist mold in humid conditions. The good news? You do not need a marine carpenter’s skills, just accurate measurements, the right foam, and a few smart techniques.
This guide walks you through every step to make a boat mattress: templating, cutting, assembling, and installing a professional-grade sleeping surface using proven methods from seasoned DIYers and liveaboard cruisers. You will learn how to choose the right materials, avoid common mistakes, and create a comfortable berth that lasts 10 years or more.
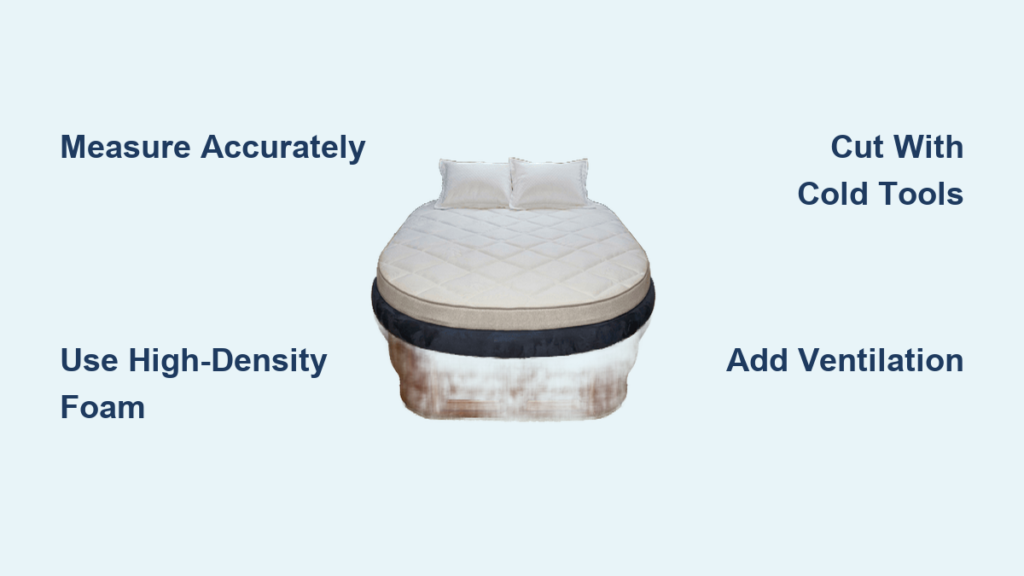
Measure Your Berth Accurately
Before buying foam, you must capture your berth is true shape. Most boat berths are tapered, angled, or curved, so standard twin or queen sizes will not fit perfectly.
Take Multiple Dimension Points
Use a tape measure to record the following measurements. Record length from front to back. Measure width at three points: bow end, midships, and stern end. Note depth where the hull slopes inward. Check clearance under hatches or lids. Measure headroom above the berth.
Pro Tip: Even if your berth looks rectangular, measure diagonally because many are trapezoidal.
Note Obstructions and Angles
Check for latches, hinges, or steps that protrude into the sleeping space. Identify storage compartments under cushions that may affect support. Note hull curvature near corners. Locate angled support rails that the mattress must clear.
Create a Full-Scale Template
A precise template ensures your foam fits like a glove with no gaps at the corners or mid-berth.
Use Stiff Paper or Fabric
Gather materials such as kraft paper, poster board, cardboard, or canvas. Lay the material over the berth or existing cushions. Secure edges with push pins or fabric weights to prevent shifting during tracing.
Trace the Exact Shape
Outline all curved edges, tapered ends, cutouts for obstructions, and corner radii. Mark key reference points including the centerline, port/starboard orientation, and midpoint.
Expert Trick: Reuse old cushions as physical templates by placing paper over them and tracing the worn shape.
Test and Refine
Lay the template flat and check for symmetry. Reinstall in the berth to verify fit. Trim and retest until it matches perfectly.
Choose the Right Foam Material
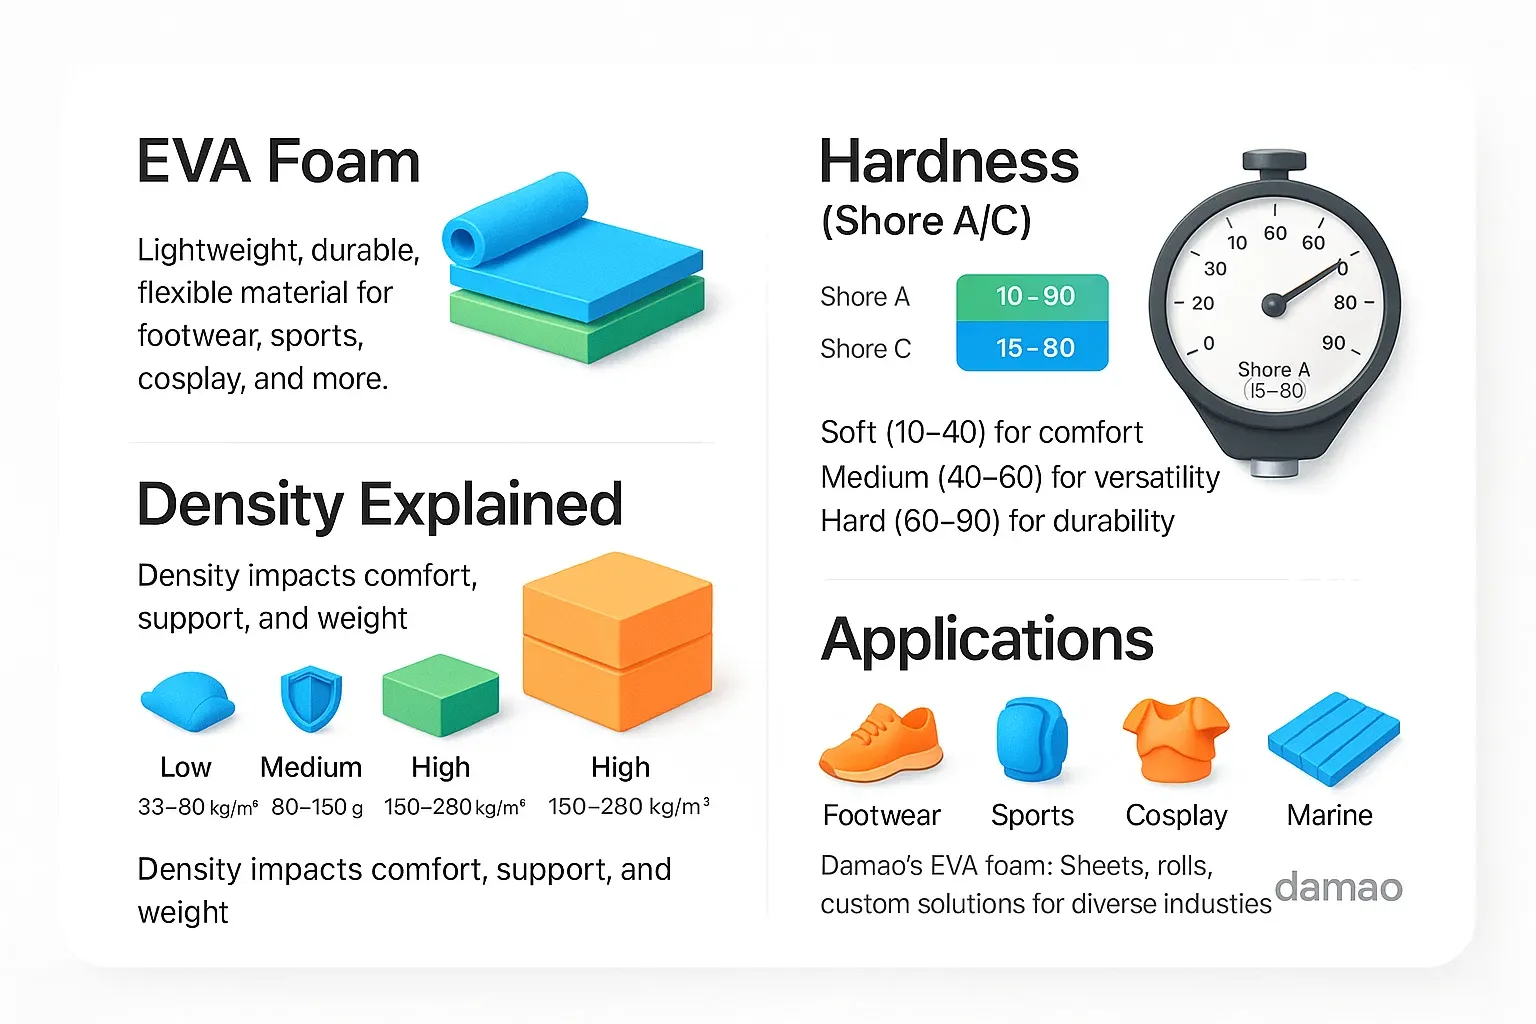
Not all foam survives the marine environment. Humidity, motion, and poor ventilation demand durable, mold-resistant materials.
Best Foam Types for Boats
| Foam Type | Density | Marine Suitability | Best Use |
|---|---|---|---|
| High-Density Polyurethane | 1.8 lb/ft³ or higher | High | Base layer (4 to 6 inches) |
| Gel-Infused Memory Foam | 3 to 5 lb/ft³ | Moderate | Top comfort layer (1 to 2 inches) |
| Natural Latex | 5 to 9 lb/ft³ | Very High | Premium, breathable option |
| Marine-Grade Foam | Varies | Highest | Pre-treated for moisture and mold |
Warning: Avoid foams under 1.5 lb/ft³ because they compress quickly and degrade in humidity.
Ideal Layering Strategy
Build a two-layer mattress for best performance. The base layer should be 4 to 6 inches of high-density polyurethane or marine foam. The top layer should be 1 to 2 inches of gel-infused memory foam or natural latex. This mimics high-end bed-in-a-box models and provides pressure relief without heat retention.
Pro Tip: Bond layers with 3M Super 77 spray adhesive by applying evenly, pressing together, and weighting overnight.
Cut Foam Without Melting or Tearing
Cutting foam cleanly is the biggest challenge, but with the right tools and tricks, it is easy.
Never Use a Hot Knife
Hot wire or hot knives melt foam into crusty, uneven edges. They release toxic fumes including isocyanates and hydrogen cyanide. They also create fire hazards.
Expert Warning: Professionals strongly advise against hot knives. Use cold cutting tools only.
Best Tools for Clean Cuts
The most effective tool is an electric carving knife such as Hamilton Beach or Cuisinart models. A serrated bread knife with a sharp blade and slow steady motion also works well. A foam saw handles thick or dense foam. Freezer or dry ice stiffens foam for cleaner cuts.
Hack: Spot-freeze the cut line with a scuba tank burst of air to instantly harden the edge.
Cut Slightly Oversized First
Cut foam 1/2 inch larger than the template. Test fit in the berth. Trim gradually to final shape.
For V-berths, lay a queen mattress across the wide front, trace the hull taper, and cut both sides. Use offcuts to fill the aft triangle.
Assemble and Test Fit
Now bring the pieces together in the boat.
Join Sections Seamlessly
If using multiple foam blocks, press together firmly. Add corner filler pieces if needed. Ensure no gaps between sections.
Comfort Tip: One-piece construction prevents you from ending up in the rut between two halves.
Check for Support
Make sure the entire base rests on solid support with no floating spans over empty storage. Add wooden support blocks under weak spots.
Example: A builder used a wooden block under the center of a wide V-berth front to prevent sagging where cushions once connected.
Verify Clearance
Test whether you can close storage lids. Check if it fits through the companionway. Verify there is enough headroom when installed.
Install Ventilation to Prevent Mold

Condensation under a boat mattress is the number one cause of mold, odor, and foam breakdown.
Use One or More Ventilation Methods
Slatted Bed Base: Install rigid slats 1 to 2 inches apart over the hull. This allows airflow even when occupied. You can build these from wood or buy ready-made from IKEA.
Breathable Mesh Layer: Use Dry-Mat or Plastimo Air Mattress Support. These products wick moisture and lift foam slightly, fitting between mattress and base.
Insulation Under Berth: Glue 25mm foam insulation with foil facing to the hull. Strip one side to break the thermal bridge and stop the cold hull from creating dew.
Best Practice: Combine slats plus mesh plus insulation for maximum moisture control, especially in steel or aluminum hulls.
Make or Buy a Marine-Grade Cover
A good cover protects the foam, resists water, and makes the mattress easy to lift.
Cover Options
| Type | Pros | Cons |
|---|---|---|
| Original Mattress Cover | Already fitted, zippered | May need pinning to new shape |
| Custom Zippered Cover | Perfect fit, marine fabric | Costly if professionally made |
| DIY Cover (Sunbrella/Dralon) | Affordable, breathable | Requires sewing skills |
Cost-Saving Tip: Use a general upholsterer because they charge 75% less than marine specialists.
Key Cover Features
Look for a full-length zipper for removal. Include handles or tabs for lifting. Ensure reinforced seams for durability. Add anti-slip dots or backing to prevent shifting.
Warning: One builder tore the cover during installation. Handle gently when compressing.
Transport and Install Aboard
Getting a large mattress through a small hatch is tricky but solvable.
Fold Like a Taco
Lay the mattress flat. Fold long edges toward center like a taco. Compress with ratchet straps. Carry with two people.
Works best with memory foam. Avoid folding rigid latex or high-density-only foam.
Allow Full Expansion
If using a roll-up mattress, let it expand 24 to 48 hours in a dry, ventilated area. Final thickness may increase from 6 inches to 8 inches. Off-gassing smell fades within 48 hours.
User Observation: One DIYer is foam grew 2 inches thicker after off-gassing, so wait before cutting.
Maintain for Longevity
Even the best mattress fails without care.
Maintenance Routine
Air out the mattress monthly, especially in humid climates. Clean the cover regularly by unzipping and washing if possible. Inspect foam annually for sagging, mold, or compression. Use a waterproof protector from IKEA or marine brands. Rotate if symmetrical, though this is rare in boat berths.
Expected Lifespan
High-density foam at 1.8 lb/ft³ or higher lasts 5 to 10 years. Natural latex lasts 8 to 15 years. Low-density foam below 1.5 lb/ft³ lasts only 2 to 3 years, so avoid it.
Pro Tip: Save offcuts for future repairs or throw pillows.
Troubleshoot Common Issues
Mattress Will Not Fit Through Hatch
Fold with ratchet straps using the taco method. Use flexible memory foam for easier compression.
Gaps at Corners
This is caused by an inaccurate template. Re-measure with a goniometer and use push pins to secure paper.
Foam Tears During Cutting
This is caused by a dull blade or forced cut. Use a sharp electric knife and warm foam to room temperature.
Cover Does Not Fit
The foam expanded or was trimmed. Pin excess fabric with safety pins or sew a new cover.
Mattress Sags
This is caused by lack of support. Add a wooden or foam block underneath.
Condensation Under Mattress
This is caused by poor ventilation or a cold hull. Install slats, mesh, or insulation under the berth base.
Final Checklist for Success
Measure berth at multiple points. Create full-scale template with push pins. Use high-density foam at 1.8 lb/ft³ or higher, or use a roll-up mattress. Let foam expand 24 to 48 hours before cutting. Cut with an electric carving knife and never use a hot knife. Bond layers with 3M Super 77 adhesive. Add ventilation using slats, mesh, or insulation. Build or buy a zippered marine cover with handles. Fold with ratchet straps for hatch installation. Test fit and ensure easy removal for access.
Frequently Asked Questions About Making a Boat Mattress
What foam density is best for a boat mattress?
High-density polyurethane foam at 1.8 lb/ft³ or higher provides the best support and durability for marine environments. Avoid foams below 1.5 lb/ft³ because they compress quickly and degrade in humid conditions.
Can I use a regular memory foam mattress on a boat?
Yes, but with modifications. Use gel-infused memory foam rather than closed-cell foam to improve breathability. Allow 24 to 48 hours for full expansion after unrolling, and cut to fit your specific berth shape.
How do I prevent mold under my boat mattress?
Install ventilation using a slatted bed base, breathable mesh layer, or insulation under the berth. Combine these methods for best results, especially in humid climates or metal hulls.
What is the best way to cut foam for a custom boat mattress?
Use an electric carving knife or serrated bread knife. Never use a hot knife because it melts foam and releases toxic fumes. Cut slightly oversized first, then trim gradually to fit.
How much does it cost to make a boat mattress yourself?
DIY builds typically cost $100 to $200 for materials, compared to $800 or more for custom marine mattresses. One builder spent $155 on materials for an 8-inch thick twin mattress, saving at least $650 versus a custom quote.
Key Takeaways for Making Your Own Boat Mattress
Building a boat mattress is not just about saving money. It is about crafting comfort where it matters most on the water. A well-made DIY mattress delivers a snug fit, superior support, and long-term durability, transforming your berth into a true home at sea.
The most critical steps are accurate measurements and template creation, followed by selecting high-density foam at 1.8 lb/ft³ or higher. Always use cold cutting tools and never a hot knife. Layer your foam with a high-density base and comfortable top, bonding them with 3M Super 77 adhesive.
Do not skip ventilation because moisture is the enemy of foam longevity. Combine slats, mesh, or insulation under your berth to prevent condensation. With off-the-shelf materials and careful craftsmanship, you can outperform expensive custom orders while enjoying the pride of a job done right. Start with a roll-up mattress from bed-in-a-box brands, allow it to fully expand, and cut your custom shape with confidence.