Waking up on a deflated air mattress is frustrating, especially when the culprit is a seam leak. Unlike surface punctures, seam leaks occur along the bonded edges where vinyl, PVC, or TPU panels meet, making them harder to detect and repair. These leaks often develop from repeated folding, overinflation, or material fatigue, causing slow deflation that ruins sleep and camping trips. This guide walks you through precise leak detection, professional-grade repair methods, and long-term prevention tips so you can restore your mattress and avoid future failures.
Find the Exact Location of Your Seam Leak

Before applying any repair materials, you must pinpoint the exact leak location. Seams can hide micro-gaps, so rely on proven detection techniques rather than guesswork.
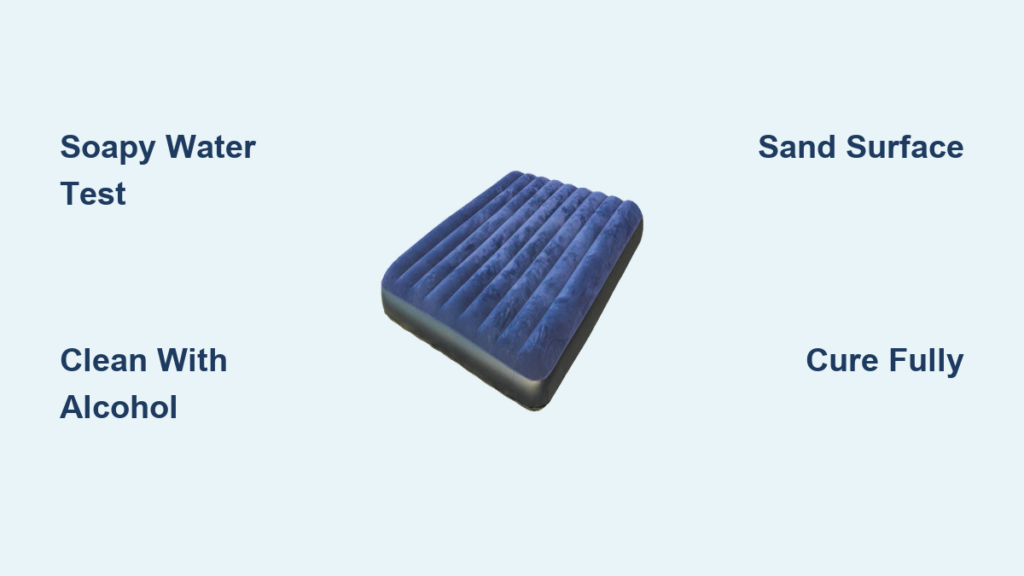
Use the Soapy Water Test
Mix warm water with a few drops of dish soap in a spray bottle. Fully inflate the mattress and lay it flat. Spray the solution along all seams, focusing on edges, corners, and areas near the valve. Watch for steady streams of bubbles, which reveal escaping air. Mark the spot with a waterproof marker or tape.
Reapply the solution if it dries out. Even pinhole leaks will bubble under pressure.
Try the Submersion Method
Fill a bathtub with 3 to 4 inches of water. Submerge one section of the seam at a time while gently pressing to increase internal pressure. Look for rising air bubbles that pinpoint the leak. Dry the mattress thoroughly after testing, and avoid submerging the air valve to prevent water from entering the interior.
Inspect Both Sides of the Seam
Flip the mattress and repeat the soapy water test on the underside. Some leaks penetrate through multiple layers and only show on one side. Check for whitening, bubbling, or lifting material, which are signs of delamination.
Gather the Right Repair Materials

Standard patch kits often fail on seams. Invest in high-performance adhesives and reinforced patches for lasting results.
Best Adhesives for Seam Leaks
Aquaseal FD stands out as the top choice. It is a flexible urethane adhesive that stays rubbery after curing and bonds permanently to PVC, vinyl, and polyurethane. This adhesive resists cracking, UV damage, and temperature changes. Cure time ranges from 8 to 12 hours.
Low-viscosity welding glue penetrates deep into micro-gaps along stitched or heat-sealed seams. Apply 2 to 3 layers, drying 24 hours between coats. This option works best for micro-leaks between threads.
Avoid rubber cement, super glue, or household tapes. These materials crack under pressure and fail quickly.
Reinforcement Patches That Last
Tenacious Tape features reinforced nylon with aggressive adhesive backing. Use it only after Aquaseal FD becomes tacky, which takes about 20 to 30 minutes. Press firmly from the center outward to eliminate air pockets.
Vinyl repair patches can be cut from a larger patch sheet. Cut the patch to extend 1 inch beyond the leak on all sides to ensure full coverage over stressed seam areas.
Never use duct tape for long-term repairs. It peels off within hours under body weight.
Prepare the Surface for Maximum Adhesion
Most repairs fail due to poor surface preparation. Follow these steps to ensure a strong bond.
Clean with Isopropyl Alcohol
Wipe the area around the leak with 70% or higher isopropyl alcohol. This removes body oils, dirt, and residues that block adhesion. Let the surface dry completely before applying any adhesive.
Sand the Surface Lightly
Use 220 to 400 grit sandpaper to scuff a 1-inch radius around the leak. The goal is to create a slightly rough texture for better glue grip. Wipe away dust with a dry cloth after sanding.
Skipping this step can reduce bond strength by up to 60%.
Apply Adhesive and Patch Correctly
This is where most DIYers rush and ruin the repair. Take your time with each phase.
Step 1: Apply Thin, Even Adhesive Layer
Shake the adhesive well before use. Use the included brush to spread a thin film over the sanded area. Extend coverage half an inch beyond where the patch will sit. Let the adhesive become tacky, which takes 5 to 10 minutes, but do not let it dry completely.
Thick glue layers crack when bent. Less is more.
Step 2: Position and Press the Patch
Cut the patch 1 inch larger than the damaged zone. Peel the backing and place it carefully over the adhesive. Press firmly from the center outward to push out air bubbles. Use a credit card or roller to ensure full contact.
Step 3: Cure Fully Before Use
Let the repair cure undisturbed. Aquaseal FD requires 8 to 12 hours. Other adhesives may need longer. Do not inflate or move the mattress during the cure period.
Longer cure time equals stronger bond. Overnight curing is ideal.
Fix a Ripped Seam

When the seam has split open rather than developing a simple pinhole, a simple patch will not suffice. You must reinforce it structurally.
Seal with Low-Temp Hot Glue
Use a low-temperature hot glue gun to avoid melting PVC. Apply a thin bead along the inside or outside of the split. Press the edges together and hold until set. Let cool completely before testing.
Reinforce with a Patch
After gluing, apply Aquaseal FD over the area. Top with Tenacious Tape or a vinyl patch. Cure for 12 or more hours before inflation.
Test the hot glue on an inconspicuous spot first to prevent melting the material.
Use a Multi-Layer Adhesive Strategy
For chronic or hard-to-stop seam leaks, go beyond basic patching.
Apply Multiple Layers of Low-Viscosity Glue
Clean and dry the entire seam section first. Brush on the welding glue along the full seam length, not just the leak point. Let dry 24 hours. Repeat for 2 to 3 total layers, allowing each layer to penetrate deeper.
Finish with Aquaseal FD and Patch
After the final layer dries, apply Aquaseal FD over the worst area. Add Tenacious Tape once the adhesive becomes tacky. Cure for 12 hours.
This strategy works because thin glue seals micro-gaps while thick adhesive plus patch handles stress points.
Test the Repair Before Use
Never assume the fix worked. Validate it under real conditions.
Reapply the Soapy Water Test
Inflate fully and spray soapy water on the repaired seam. Look for no bubbles, even under pressure.
Perform a Load Test
Sit or lie on the repaired area. Listen for hissing or feel for air escape. Check for patch lifting or deformation.
Monitor Pressure Overnight
Inflate and leave for 8 to 12 hours. A properly repaired seam should retain firmness.
If the repair fails, repeat cleaning, sanding, and reapply adhesive. Most second attempts succeed.
Prevent Future Seam Leaks
A repaired seam is weaker than the original. Protect it with smart habits.
Avoid Overinflation
Inflate until firm but not rock-hard. Overinflated mattresses stress seams and increase rupture risk.
Do Not Sit on the Edges
Edges bear the most weight and flex. Sitting on edges accelerates seam fatigue significantly.
Use a Groundsheet
Place a tarp or footprint under the mattress when camping. This prevents abrasion from rocks, sticks, and rough surfaces.
Store Properly
Clean and dry the mattress before folding. Loosely roll the mattress to avoid tight creases that weaken seams. Store in a cool, dark place away from sunlight and ozone sources.
Know When to Replace the Mattress
Some damage cannot be fixed. Replace the mattress if you see multiple seam leaks across the entire surface. Look for fabric that is thin, brittle, or peeling. Watch for extensive delamination or bubbling along seams. Check for a cracked or broken valve, which is often non-repairable.
If repairs keep failing despite your best efforts, it is time for a high-quality upgrade with welded construction and reinforced edges.
Check your warranty. Many brands cover seam defects for 1 year. DIY repairs may void coverage, so act fast.
Compare Repair Methods and Durability

| Method | Best For | Cure Time | Longevity |
|---|---|---|---|
| Aquaseal FD plus Patch | Most PVC and vinyl seams | 8 to 12 hours | 6 months to years |
| Schweisskleber, 2 to 3 layers | Micro-leaks in stitched seams | 24 to 72 hours | 1 year or more |
| Hot glue plus Patch | Ripped seams, temporary fix | 1 hour | Weeks to months |
| Duct tape | Emergency only | Immediate | Hours to 1 night |
Aquaseal FD repairs last longest when surface preparation is thorough.
Final Repair Checklist
Mark the leak location accurately. Deflate and clean the mattress thoroughly. Sand the area and remove all dust. Apply adhesive in a thin, even layer. Center the patch and press firmly from the center outward. Cure for 8 to 12 hours or longer. Test under pressure and load before regular use.
Frequently Asked Questions About Air Mattress Seam Leak Repair
How do I know if my air mattress has a seam leak or a puncture?
A seam leak typically causes slow, gradual deflation over several hours or overnight. A puncture often causes rapid deflation. Use the soapy water test to identify the exact location. Seam leaks appear along bonded edges while punctures occur on flat surfaces.
Can I use duct tape to repair a seam leak temporarily?
Duct tape works for emergency, short-term fixes only. It peels off within hours under body weight or temperature changes. Replace it with a proper repair using Aquaseal FD or a vinyl patch as soon as possible.
How long does Aquaseal FD take to cure before I can inflate my mattress?
Aquaseal FD requires 8 to 12 hours for full cure. You can add Tenacious Tape after 20 to 30 minutes when the adhesive becomes tacky, but wait the full cure period before inflating fully.
Why do seam leaks keep coming back after repair?
Recurring seam leaks often indicate material fatigue or improper surface preparation. Make sure to clean with isopropyl alcohol, sand the surface, and apply adhesive in thin layers. For chronic leaks, use the multi-layer adhesive strategy with low-viscosity welding glue.
Can I repair a seam leak without deflating the mattress?
Effective seam repair requires deflation. Inflated surfaces stretch and prevent proper adhesive bonding. Deflate completely, prepare the surface, apply adhesive, and allow full cure before reinflation.
What is the best adhesive for TPU air mattress seams?
TPU requires TPU-specific adhesives. Standard PVC adhesives may not bond properly to thermoplastic polyurethane. Check your mattress material before selecting an adhesive.
Key Takeaways for Fixing Air Mattress Seam Leaks
You can fix an air mattress seam leak if you use the right materials and take time with preparation. Aquaseal FD combined with multi-layer adhesive sealing delivers the most durable results. Avoid shortcuts like duct tape or rubber cement. With proper surface cleaning, sanding, and adequate cure time, a well-repaired mattress can last seasons longer.
The soapy water test remains the most reliable method for locating seam leaks. Always inspect both sides of the seam and mark the exact location before starting repairs. For micro-leaks in stitched seams, low-viscosity welding glue applied in multiple layers provides deep penetration that standard adhesives cannot achieve.
If seams keep failing despite proper repairs, it is time to replace the mattress. Look for models with welded construction and reinforced edges for better durability. Check your warranty before attempting DIY repairs, as unauthorized fixes may void coverage.