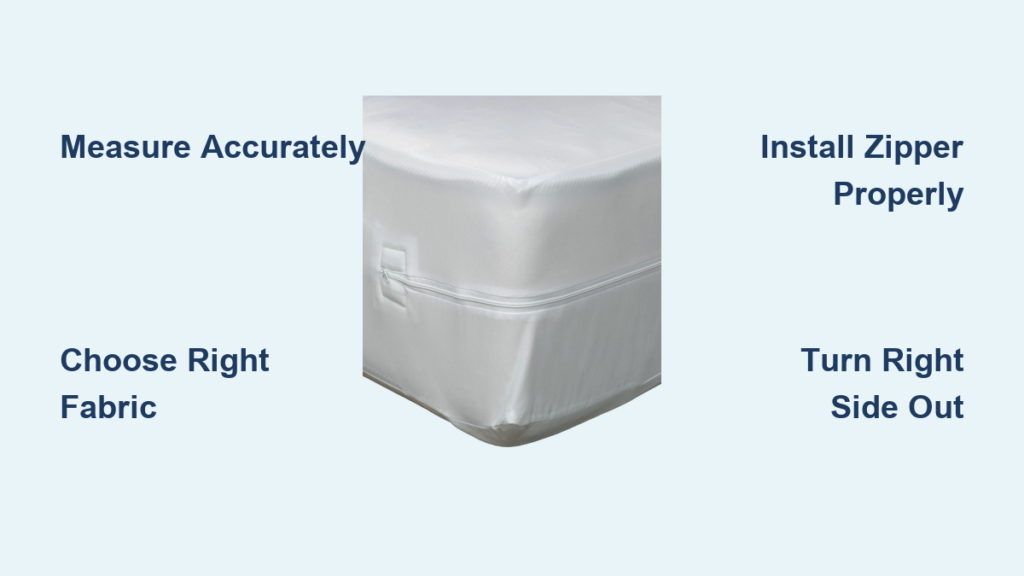
If your mattress needs a custom-fit, washable, and durable cover, sewing one yourself is a smart, cost-effective solution. Whether you’re building a DIY mattress, protecting a foam core, or reupholstering an old bed, a zippered cover keeps everything secure and clean. This guide walks you through every step, from fabric selection to final stitching, so you can create a cover that fits perfectly, resists wear, and allows easy access for cleaning or layer swaps.
Measure Mattress Dimensions
Record Length, Width, and Height
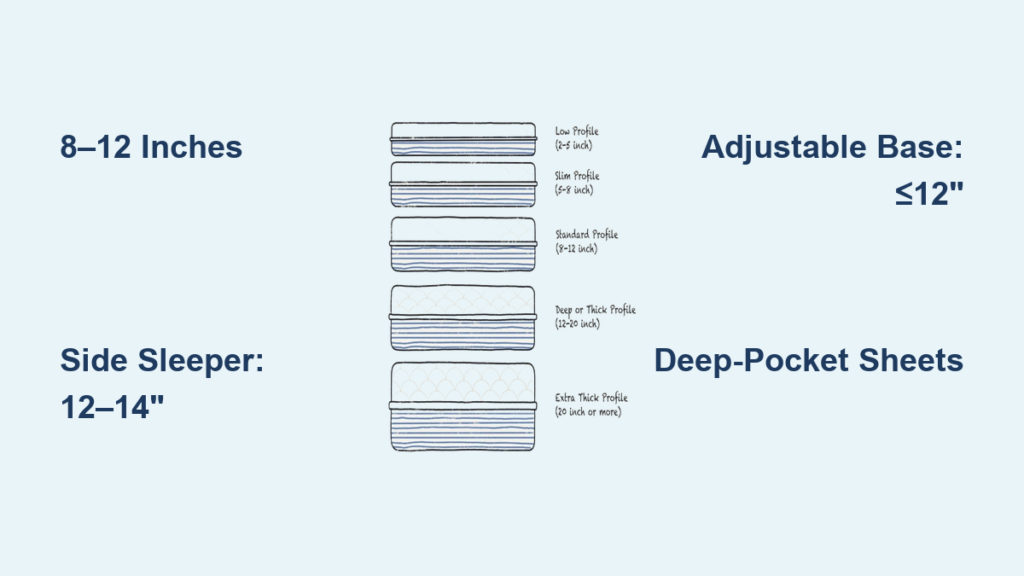
Start by measuring your mattress with a fabric tape measure. Capture three key dimensions: the length from head to foot, the width from side to side, and the height from top to bottom. For example, a queen mattress might measure 80 inches long by 60 inches wide by 12 inches deep. Accuracy matters here, so use a level surface and press down slightly while measuring to avoid overestimating the size.
Add Seam Allowance to All Sides
Include 1 inch seam allowance on every edge to ensure clean joins and accommodate stitching without shrinking the final fit. For the top and bottom panels, cut at length plus 2 inches by width plus 2 inches. For the side panel or gusset, the width equals mattress height plus 2 inches, and the length equals twice the sum of length and width. If working with thick foam or deep mattresses, add an extra 1 inch to height for easier insertion.
Choose the Right Fabric
Select Based on Use and Comfort
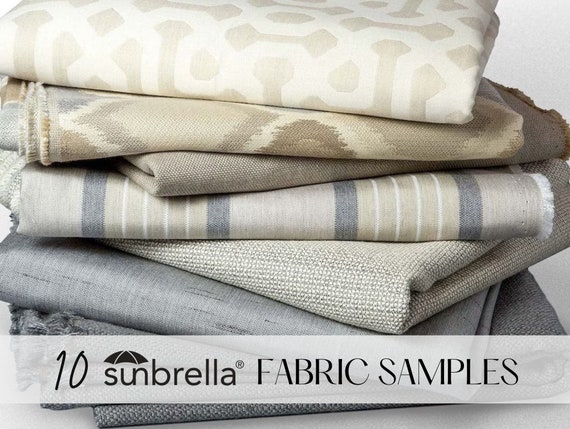
Your fabric choice affects breathability, stretch, and durability. Cotton is soft and breathable, ideal for general use. Linen is strong and eco-friendly, softening with each wash. Polyester or blends offer durability and wrinkle resistance for high-use beds. Knit fabrics like jersey are stretchy and prevent the drum effect on memory foam or latex. Quilted fabric adds padding and structure for coil-based builds. Waterproof TPU-coated options work well for kids rooms or pet owners. For RVs or outdoor use, Sunbrella or outdoor fabric provides UV and mildew resistance.
Cut Fabric Panels Accurately
Lay your fabric flat with the face side down. Mark your dimensions with chalk or a fabric pen. Use a rotary cutter and straight edge for clean, straight cuts. Double-check all measurements before cutting. A pro tip: use a large flat sheet like a queen fitted sheet as a ready-made base. Cut it open to get one large piece with matching top and bottom layers.
Prepare the Gusset and Panels

Cut the Side Strip or Individual Panels
You have two options for the side panels. The continuous strip method cuts one long strip at height plus 2 inches by twice the sum of length and width, then sews the ends together to form a loop. The four separate pieces method is easier for beginners: two side panels at length plus 2 inches by height plus 2 inches, and two end panels at width by height plus 2 inches. For thick mattresses, use a walking foot to handle bulk when sewing.
Trim Corners for Clean Folding
At each corner, mark half the height along adjacent edges. Cut diagonally between these points to remove a triangle. This allows the gusset to fold neatly around the mattress corners. After sewing, corners should lie flat without bulging.
Attach Side Panel to Bottom
Pin and Sew Right Sides Together
With the bottom panel face up, pin the gusset around the edge with right sides together. Align raw edges and match corners precisely. Use clips or pins every 6 to 8 inches. Add match-up marks every 12 to 18 inches to prevent shifting during sewing. Sew with a 1 inch seam allowance, backstitching at start and end for strength.
Test Fit Before Adding Top Panel
Slide the partially assembled cover over the mattress before adding the top panel. Check for tightness or gaps. Adjust if needed before proceeding. Press seams open with an iron to reduce bulk and improve alignment.
Mark and Prep Zipper Opening
Leave Opening on Top Panel Edge
On one long edge of the top panel, designate a section for the zipper. This is typically centered and runs 18 to 24 inches, depending on zipper length. Do not sew this section when joining the top panel later. The opening should be 1 to 2 inches shorter than the zipper length to ensure full overlap when closed.
Use Continuous or Cut-to-Fit Zipper
Opt for a metal zipper for more durability or a heavy-duty coil zipper. Buy one 2 to 3 inches longer than needed, then trim after installation. An alternative is to use a continuous invisible zipper for a seamless look, though this requires an invisible zipper foot.
Install Exposed Zipper
Open Zipper Halfway and Align
Lay the top panel face down. Place the zipper face down along the raw edge, aligning the teeth with the seam line. Pin the zipper tape to the top panel edge. Use a zipper foot to sew as close to the teeth as possible.
Sew First Side of Zipper
With the zipper foot attached, stitch along the edge, keeping the needle near but not hitting the teeth. Backstitch at both ends. Press the seam flat.
Attach Second Side to Bottom Panel
Fold the zipper over to the other side. Align the opposite zipper tape with the bottom panel raw edge. Pin in place, then sew the second side using the same method. Ease the fabric slowly at corners to prevent puckering.
Complete the Cover Assembly
Sew Remaining Seams
After zipper installation, sew the two short ends of the gusset to close the loop. Reinforce corners with box stitching or backstitching. Zigzag stitch all internal seams to prevent fraying, especially important for Sunbrella or non-woven fabrics.
Turn Cover Right Side Out
Open the zipper fully before turning. This is critical. If left closed, you wont be able to turn the cover. Reach through the opening and pull the entire cover through. Use a chopstick or blunt tool to push out corners for crisp edges. Ensure no fabric is twisted inside.
Insert Mattress or Foam Core
Fold and Feed Through Opening
For thick foam layers, fold the end slightly to fit through the zipper opening. Walk it through gradually. Do not yank. Insert support layer first, such as base foam or coils, then add comfort layers like latex or memory foam. Label foam layers before insertion to avoid upside-down assembly.
Avoid Drum Effect
If the surface feels tight or bouncy, the cover may be too small or made of non-stretch fabric. Fix this by using knit fabric for the top panel, sizing up by 1 to 2 inches in height, avoiding thick poly-fill quilting, or considering a split-cover system with separate covers for base and comfort layers. Press your palm into the mattress to test. If it rebounds too fast, the tension is too high.
Add Handles and Finishing Touches
Sew Handles for Easy Removal
Cut two 4-inch by 8-inch fabric rectangles. Fold in half lengthwise with right sides together. Sew along the long edge and one short end. Turn right side out. Attach handles to side panels before final assembly, positioning them near top and bottom edges. This is essential for heavy mattresses or RV beds.
Insert Piping or Trim
For a polished look, add piping along the top edge using bias tape or custom-covered cording. Sew piping to the top panel before attaching the gusset.
Wash and Maintain the Cover
Confirm Care Instructions
If washability is a priority, use machine-washable fabric and install a durable, rust-resistant zipper. Avoid glued or heat-sealed zippers. Most homemade covers can be spot-cleaned or machine-washed on gentle with mild detergent.
Refresh and Rotate
Air out the cover in sunlight once a year to kill bacteria and eliminate odors. Rotate the mattress regularly to prevent uneven wear. The replaceable design means if the cover becomes stained, you can remove and replace only the cover, which is much cheaper than buying a new mattress.
Adapt for Special Uses
RV and Camper Cushions
Use Sunbrella or marine fabric for UV and moisture resistance. Add handles for frequent removal. Reupholster existing cushions with zippered covers for longer life.
Daybeds and Window Seats
Follow the same method with custom dimensions. Use decorative fabric for visible sides. Add contrasting zipper color or piping for style.
Twin or Dorm Room Mattresses
Smaller size means less fabric and faster sewing, making this ideal for beginners. Use upcycled sheets: a full-size flat sheet can yield both top and bottom panels.
Avoid Common Mistakes
Double-Check Measurements
Incorrect dimensions are the number one failure point. Always add seam allowance and verify twice.
Do Not Skip Match-Up Marks
Large panels shift easily. Use chalk marks every 12 to 18 inches to keep edges aligned.
Open Zipper Before Turning
Forgetting this makes it impossible to turn the cover right side out.
Use Strong Thread and Reinforcement
Weak thread or single stitching fails under stress. Use polyester thread and backstitch all critical seams.
Trim Excess Seam Allowance
This reduces bulk, especially at corners, and helps the cover lie flat.
Upgrade with Expert Tips
Use a Split-Cover System
Encase the base layer like coils in a quilted cover and the comfort layer like latex in a knit cover. Benefits include mixing materials for optimal feel, easy layer swaps, reduced surface tension, and washing components separately.
Reuse Old Zippers
Carefully remove zippers from discarded mattress covers. Clean and repurpose them for DIY projects.
Save Fabric Scraps
Use leftover Sunbrella or cotton for labels, trim, or small storage pouches.
Press Seams for Professional Finish
Ironing after each seam improves accuracy and gives a crisp, store-bought look.
Frequently Asked Questions About Sewing a Mattress Cover with Zipper
What is the best fabric for a zippered mattress cover?
The best fabric depends on your needs. Cotton offers softness and breathability. Linen provides durability and eco-friendliness. Knit fabrics work best for memory foam or latex to prevent the drum effect. For waterproof needs, choose TPU-coated fabric. For outdoor or RV use, Sunbrella or marine fabric provides UV and mildew resistance.
How do I choose the right zipper size?
Choose a zipper that is 1 to 2 inches longer than your planned opening. This allows for overlap and ensures full closure. Measure the intended opening along one long edge of the mattress, typically 18 to 24 inches for standard sizes.
Can I sew a mattress cover if I am a beginner?
Yes, beginners can successfully sew a mattress cover. Start with a simpler design using four separate side panels instead of a continuous gusset. Use an exposed zipper instead of an invisible zipper for easier installation. Choose a medium-sized mattress like a twin or full to practice before tackling larger sizes.
How do I prevent the drum effect in my mattress cover?
The drum effect causes a tight, bouncy feel when the cover is too tight over foam layers. Prevent it by using stretchy knit fabric for the top panel, sizing up by 1 to 2 inches in height, avoiding thick poly-fill quilting, and considering a split-cover system that separates base and comfort layers.
How do I maintain my sewn mattress cover?
Most fabric mattress covers can be machine-washed on gentle or spot-cleaned. Use mild detergent and avoid high heat when drying. Air out the cover in sunlight annually to kill bacteria. Rotate the mattress regularly to prevent uneven wear. Replace the cover if it becomes permanently stained or damaged.
Key Takeaways for Sewing Your Own Mattress Cover
Sewing a zippered mattress cover gives you full control over fit, fabric, and function. Whether you are protecting a foam build, refreshing an old bed, or crafting for an RV, this project delivers long-term value. By measuring precisely, choosing appropriate materials, and installing the zipper correctly, you will create a durable, washable cover that enhances comfort and extends mattress life.
Remember that you do not need perfection. Covers can be replaced or upgraded. The goal is a functional, custom fit that meets your needs and the satisfaction of making it yourself. Start with accurate measurements, select fabric based on your specific use case, and take your time with zipper installation for the best results.
Now zip it up, add your favorite sheets, and sleep easy knowing your bed is protected the way you designed it.