Nothing ruins a night’s sleep faster than waking up on a sagging air mattress. The culprit is almost always a poorly closed air mattress valve. When your valve isn’t sealed properly, air slowly escapes, leaving you tossing and turning on a half-deflated surface. In this guide, you’ll learn exactly how to close an air mattress valve correctly, identify your valve type, troubleshoot leaks, and maintain your valve for years of reliable use.
Identify Your Air Mattress Valve Type
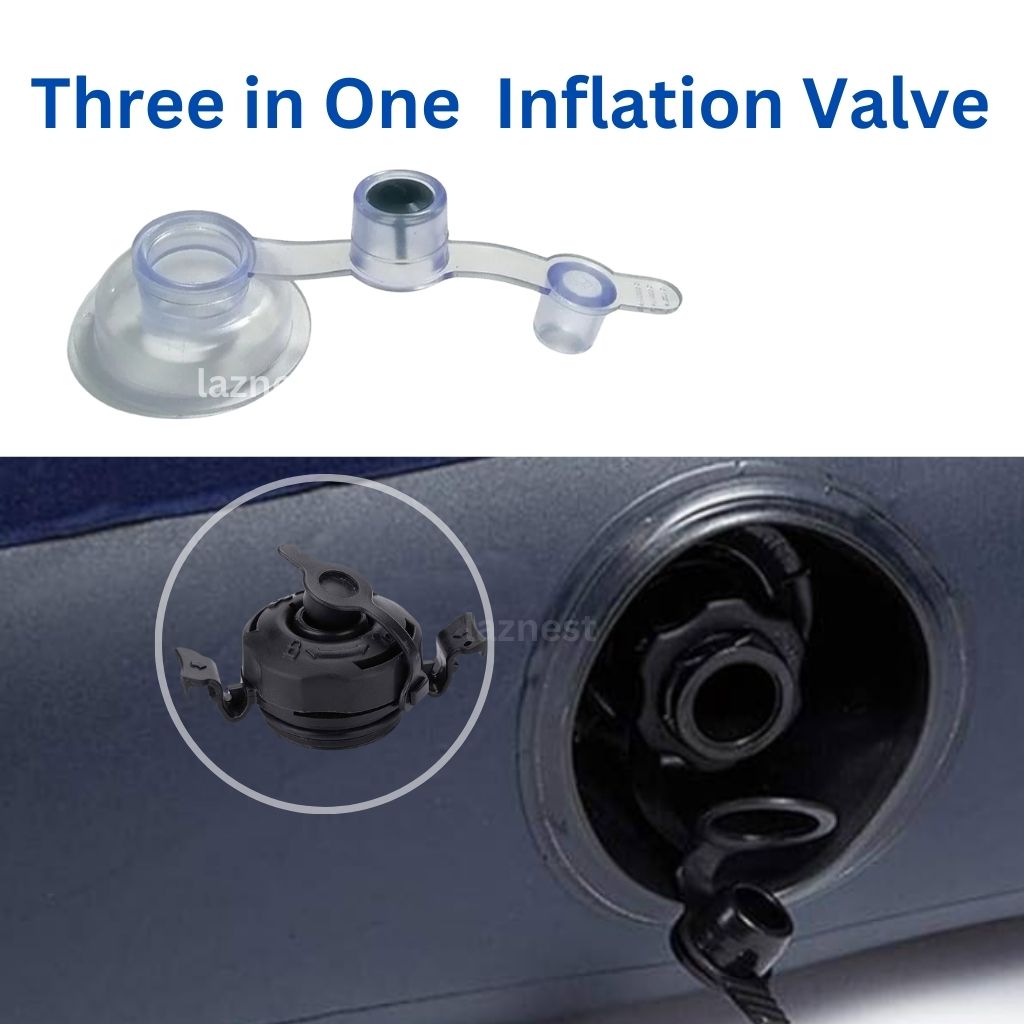
Before closing your valve, you need to know which type your mattress uses. Each system requires a different approach for a proper seal.
One-Way Valve Basics
One-way valves appear on budget and standard air mattresses like Intex and AeroBed models. Air enters through a rubber flap that seals shut when the pump is removed. You must screw on or snap on the cap for full security. Some models include a center pin that twists to “closed” before capping.
Boston Valve Basics
Boston valves are common on premium camping and guest mattresses. They feature a two-part design with a wide base for fast airflow and a removable cap that threads onto the base. Simply screw the cap clockwise by hand until snug. Do not use tools.
Double Valve System Basics
Double valve systems combine one-way and Boston-style functions. One valve handles inflation while the other allows rapid deflation. Both must be closed independently after use. Forgetting to cap the deflation valve causes total air loss.
Step-by-Step: Close Any Air Mattress Valve
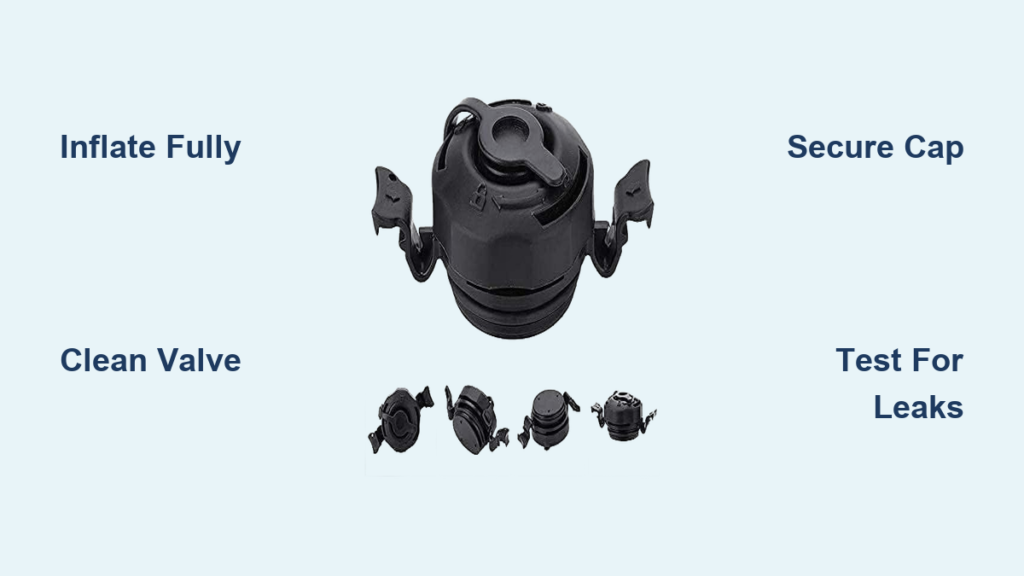
Inflate Fully Before Closing
Pump until the mattress feels firm but slightly soft to the touch, reaching 90 to 100 percent capacity. Stop at this point. Over-inflation stresses seams and distorts the valve, making closure difficult. Wait 1 to 2 minutes for air to stabilize before closing.
Disconnect the Pump Safely
Turn off electric pumps before removing the nozzle. For manual pumps, gently pull straight out. Yanking can damage internal seals. Listen for a soft “pfft” sound, which indicates the self-sealing flap engaged. Still, cap it. Do not rely on the flap alone.
Inspect and Clean the Valve
Wipe the valve seat with a dry, lint-free cloth. Remove dust, moisture, or debris that could prevent a tight seal. Check for cracks, warping, or stripped threads. If damaged, repair or replace before use.
Secure the Valve Cap
For threaded valves like Boston and double systems, align the cap with the valve base threads. Screw clockwise by hand until snug. Do not overtighten. For snap-on or push caps on basic one-way valves, press firmly until the cap clicks or seats fully. Some require twisting the inner stem first. For double valve models, close the inflation valve first, then the deflation valve.
Test for Air Leaks
Press down on the mattress near the valve and listen for hissing. Apply the soap test: mix dish soap with water, apply to the valve, and watch for bubbles. Bubbles mean air is escaping. A properly sealed valve should retain over 90 percent of air for 8 plus hours at room temperature.
When to Close Your Air Mattress Valve
After Inflation: Lock in Air
Close the valve after pumping to maintain optimal firmness. This prevents slow leaks that cause sagging overnight. Close before adding sheets or allowing weight on the mattress.
After Deflation: Protect the Valve
Once fully deflated, close the valve before folding. This keeps dirt, moisture, and insects out during storage. It also prevents accidental punctures from sharp objects.
Common Valve Closure Mistakes
Avoid these errors that lead to leaks and damage.
Closing Too Early
Sealing before full inflation results in a soft, uneven sleeping surface. Always wait until the mattress is firm and air has settled.
Skipping the Cap
Even self-sealing valves need caps. The cap adds a physical barrier against dust, moisture, and slow leaks.
Forcing a Damaged Cap
If the cap will not thread smoothly, stop. Forcing it can strip plastic threads or bend the valve stem. Inspect for damage and replace parts if needed.
Using the Wrong Cap
Universal or mismatched caps may not seal properly. Boston valves vary in thread size. Test fit before relying on it. When in doubt, order OEM replacement parts.
Overtightening the Cap
Hand-tight is sufficient. Using tools or excessive force cracks plastic components. Damaged valves cannot seal, even with a new cap.
Troubleshoot a Leaking Valve

Signs of Poor Closure
Watch for the mattress losing firmness within hours. Listen for hissing near the valve. Look for bulging around the valve base. Notice difficulty reinflating due to misalignment.
Fix a Leaky Seal
Reopen and reclean the valve first. Remove the cap, wipe the valve, and check for obstructions. Then realign and reclose by reinstalling the cap slowly, ensuring proper threading. Finally, retest with the soap solution to confirm the leak is gone.
Emergency Fixes for Missing or Damaged Caps
If the cap is lost or broken, use these temporary solutions. Wrap duct tape tightly over the valve opening. Stretch plastic wrap over the valve and secure with a rubber band. Wrap plumber’s tape around the threads to improve grip and seal. Apply food-safe silicone around the rim, not inside. Let it cure for 12 to 24 hours. Replace with a proper cap as soon as possible.
Maintain Your Valve for Long-Term Use
Clean After Every Few Uses
Wipe the valve and surrounding area with a damp cloth. Dry thoroughly. Moisture promotes mold and weakens seals. Avoid alcohol, bleach, or abrasive cleaners.
Prevent Damage During Use
Do not sit or step on the valve area. Keep sharp objects away. Use a protective cover or sheet to reduce wear.
Store With Valve Closed
Fold the mattress with the valve accessible. Always cap it before storing in a bag or closet. Store in a cool, dry place. Heat degrades rubber seals.
Replace Lost or Damaged Valve Caps
Order OEM Replacement Caps
Visit the manufacturer’s website. Enter your model number to find the exact match. Many brands sell valve kits with caps and tools.
Buy Universal Valve Caps
Available on Amazon, Walmart, and outdoor retailers. Designed to fit standard Boston and one-way valves. Look for adjustable or dual-size models.
DIY Compatibility Fixes
Some users adapt bicycle pump caps for Boston valves. Test fit carefully. Modifications may void warranties.
When to Replace the Entire Valve
Replace the valve if the rubber flap is torn or missing. Replace if the valve base is cracked or wobbly. Replace if air leaks persist despite recleaning and recapping. Replace if threads are stripped and will not hold a cap. Replacement kits are available online. Some require patching tools and adhesive. Follow instructions carefully.
Frequently Asked Questions About Closing Air Mattress Valves
How do I know if my air mattress valve is closed properly?
Press down on the mattress near the valve and listen for hissing. Apply soapy water to the valve area and watch for bubbles. A properly closed valve should maintain firmness for 8 plus hours.
Can I leave my air mattress valve uncapped overnight?
No. Even self-sealing valves need caps. The cap provides an additional barrier against slow leaks, dust, and moisture.
Why does my air mattress keep deflating overnight?
This usually indicates a poorly closed valve, damaged valve seal, or puncture elsewhere on the mattress. Check the valve first using the soap test method.
What should I do if I lose my valve cap?
Use a temporary fix like duct tape or plastic wrap. Then order a replacement cap from the manufacturer or buy a universal cap that fits your valve type.
How often should I replace my air mattress valve?
Replace the valve when you notice cracks, tears in the rubber flap, stripped threads, or persistent air leaks that do not respond to cleaning and proper capping.
Key Takeaways for Properly Closing Your Air Mattress Valve
The steps are straightforward. Inflate fully, disconnect the pump, clean the valve, secure the cap properly, and test for leaks. Avoid common mistakes like closing too early, skipping the cap, or overtightening. Maintain your valve with regular cleaning and proper storage. Replace caps or valves immediately when damaged. With these practices, your air mattress will stay firm and ready for every use.