If your air mattress has gone flat overnight and you have traced the problem to the soft, fuzzy felt side, do not toss it out just yet. Many people assume a leak on the flocked surface cannot be fixed because patches will not stick to the textured fibers. But patching an air mattress on the felt side is absolutely possible with the right technique. The secret is removing the fuzzy layer first to expose the smooth vinyl underneath. This guide walks you through every step from finding the leak to applying a durable patch that holds.
Find the Leak Accurately

Before you can fix anything, you need to locate exactly where air is escaping. On the felt side, leaks are much harder to spot visually, so use proven detection methods to pinpoint the exact problem spot.
Use Soapy Water to Locate Bubbles
Mix a few drops of dish soap with water in a spray bottle or bowl. Inflate the mattress slightly beyond normal to increase internal pressure, which makes leaks more visible. Apply the soapy solution generously over the suspected area, paying extra attention to seams and worn spots. Watch closely for bubbles forming, which reveal the exact leak location. Mark it immediately with a permanent marker before the area dries.
Pro Tip: If spraying is not effective, submerge small sections in a bathtub or use a damp cloth to check for tiny hissing sounds or bubbles.
Check for Multiple Punctures
After finding one leak, do not stop checking. Reapply soapy water around the area and along all seams. Multiple punctures are common, especially if the mattress was stored with debris or used on rough surfaces.
Remove the Felt Layer Completely
The biggest mistake people make is applying a patch directly over the fuzzy surface. The flocking absorbs adhesive and prevents proper bonding. To succeed, you must strip away the felt to expose bare vinyl underneath.
Shave With a Razor Blade
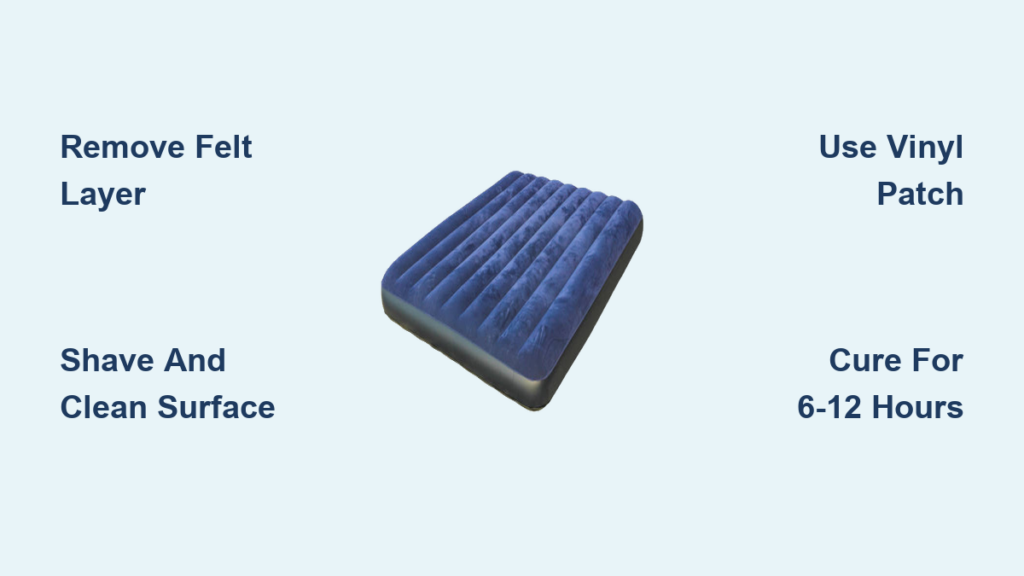
Use a sharp utility knife or razor blade. Shave the felt in all directions, up, down, left, and right, to fully clear all fibers. Work in a circular area at least 10mm wider than the hole on all sides. Stop only when the surface feels smooth and shiny, and you can see the underlying vinyl clearly.
Caution: Go slowly and press gently to avoid cutting through the vinyl layer.
Dissolve Residue With Acetone
Dab a cotton ball with acetone-based nail polish remover. Rub it over the shaved zone to lift any remaining fuzz and clean the surface. This also degreases the vinyl, which improves adhesive bonding significantly.
Combine Methods for Best Results
For stubborn flocking that will not budge, shave first to remove the bulk of fibers. Then follow with acetone to eliminate residue and ensure a completely pristine surface. The success signal you are looking for is a surface that feels just as smooth as the non-felt side of the mattress.
Clean and Dry the Surface
Even a perfectly shaved spot will fail if it is dirty or damp. Proper cleaning ensures maximum patch adhesion and a seal that lasts.
Wash With Soapy Water
Clean the exposed vinyl with mild dish soap and water. Rinse thoroughly to remove any acetone residue or loose particles left from the shaving process.
Final Wipe With Alcohol or Acetone
Use isopropyl alcohol at 70% or higher on a clean cloth. Wipe the area one last time to remove oils, dust, or moisture that could compromise the bond.
Dry Completely
Let the surface air dry for at least 15 to 30 minutes. Speed it up with a fan, a hairdryer on cool setting, or sunlight. Never patch a damp or oily surface because the adhesive will not bond properly.
Choose the Right Patch
Not all patches work on air mattress vinyl, especially after you have modified the surface. Pick one designed for flexible, high-pressure materials.
Use Vinyl-Compatible Peel-and-Stick Patches
Terrain patches are highly recommended for long-term durability on air mattress vinyl. Look for labels specifically stating the patch is for inflatable vinyl or PVC repair. Avoid generic household patches because they lack the flexibility and grip needed for air mattress surfaces.
Select the Correct Size and Shape
Round or oval patches resist edge lifting better than square patches. The patch must extend at least 10mm beyond the hole in every direction. If the puncture is large, use a patch at least 2 inches in diameter to ensure full coverage.
Important: Never patch over intact flocking. Real-world testing confirms this approach fails completely.
Apply the Patch Correctly

Now that the surface is properly prepared, correct application technique ensures a lasting seal that holds up to regular use.
Step-by-Step Patching Process
Cut the patch to size using scissors if needed. Peel off the backing carefully, but avoid touching the sticky side with your fingers. Center the patch precisely over the hole. Press from the center outward using your palm or a credit card to push out all air bubbles. Seal all edges firmly to prevent lifting over time. Let it cure by keeping the mattress deflated for 6 to 12 hours, ideally overnight.
Heat Tip: Some users gently warm the patch with a low-heat iron over a cloth to activate adhesive, but only do this if the patch manufacturer explicitly allows it. Most modern peel-and-stick vinyl patches do not require heat.
Test the Repair
Do not assume the fix worked. Always verify the patch holds under pressure before putting the mattress back into regular service.
Reapply Soapy Water After Inflation
Inflate the mattress to normal or slightly higher pressure. Spray soapy water over the patched area. Watch carefully for any bubbles forming, which would indicate air is still escaping.
Fix Failed Seals Immediately
If bubbles appear, remove the old patch completely. Reshape the repair zone by shaving and cleaning again. Apply a larger or new patch with full overlap around the original hole. A successful repair shows no bubbles and holds air for days without any loss.
Repair Seams and High-Stress Areas

Leaks sometimes occur along seams where stitching or glue has failed over time. These require slightly different treatment than standard punctures.
Reinforce Seam Leaks Differently
Trim any loose threads carefully around the seam. Clean and shave any flocked seam areas using the same method as regular punctures. Use extra-large patches that span both sides of the seam for better reinforcement. Consider double-layer patching for heavy-duty reinforcement in high-stress areas.
Prevent Future Damage
Once you have fixed your mattress, protect it to avoid needing repeat repairs down the line.
Use a Groundsheet When Camping
Place a tarp or camping pad underneath the mattress to block sharp rocks, sticks, or gravel. Never inflate directly on bare soil or concrete surfaces.
Avoid Abrasion and UV Exposure
Set up under a canopy, tent, or shade shelter when outdoor use is expected. UV rays degrade vinyl over time, especially during prolonged outdoor exposure.
Handle With Care
Do not drag the mattress when moving it. Store it clean, dry, and loosely rolled. Never compress it tightly in storage bags.
Tools and Materials Checklist
Make sure you have everything on hand before starting your repair.
• Razor blade or utility knife for removing felt fibers
• Acetone or nail polish remover to dissolve residual flocking
• Cotton balls or soft cloth for applying acetone safely
• Dish soap mixed with water for leak detection
• Isopropyl alcohol for final surface cleaning
• Vinyl repair patch designed for inflatable vinyl
• Scissors to trim patch to the correct size
• Permanent marker to mark the leak location
• Fan or hairdryer to speed up surface drying
Expect Realistic Longevity
A well-executed repair on the felt side can last for months or even years, depending on how the mattress is used and cared for.
Factors That Affect Durability
Complete flocking removal creates a stronger bond that lasts. Using the proper patch type ensures long-term flexibility and adhesion. Allowing full curing time gives maximum adhesion strength. Avoiding stress on the repaired area prevents re-tears. The good news is that once repaired, the patched zone behaves exactly like the original smooth vinyl with no difference in performance.
Safety and Warranty Notes
Be aware of the risks and limitations before attempting a DIY repair.
Safety First
Use sharp tools carefully and always cut away from your body. Work in a well-ventilated space when using acetone. Keep all chemicals away from children and pets.
Warranty and Liability
Most manufacturer warranties are voided after user repairs. Repaired mattresses may not meet original safety standards. You assume full responsibility for the repair and continued use of the mattress.
Warning: Never use a damaged or poorly repaired mattress for infants, medical patients, or in flood-prone areas where reliability is critical.
Final Fix: When to Replace Instead
While most felt-side leaks can be fixed successfully, some situations call for replacement instead.
Consider Replacement for Severe Damage
Large tears or multiple leaks across high-stress zones may be too damaged to repair effectively. Delamination, where layers are separating, is often beyond repair. Integrated models like couch-mattress combinations can be hard to patch and become uncomfortable when damaged.
But for standard camping or guest mattresses, a proper felt-side patch restores full function and extends the life of your mattress significantly.
Frequently Asked Questions About Patching an Air Mattress on the Felt Side
Can you patch an air mattress on the fuzzy side?
Yes, you can patch the fuzzy felt side of an air mattress, but you cannot apply the patch directly over the flocking. You must first remove the felt layer to expose the smooth vinyl underneath for the adhesive to bond properly.
What is the best way to remove felt from an air mattress?
The most effective method is using a sharp razor blade to shave the felt in all directions until smooth vinyl shows. Follow with acetone to dissolve any remaining fibers and degrease the surface. This combined approach gives the best results for patch adhesion.
How long does a felt-side patch last?
A properly executed repair with complete flocking removal can last months or even years. The key factors are thorough surface preparation, using a vinyl-compatible patch, and allowing adequate curing time before inflating the mattress.
What type of patch works best for air mattress repairs?
Vinyl-compatible peel-and-stick patches, particularly brand-name options like Terrain patches, work best. The patch must be designed for flexible plastics and high-pressure applications. Round or oval shapes resist edge lifting better than squares.
Why does my patch keep falling off?
The patch likely failed because flocking was not completely removed before application. The fuzzy surface absorbs adhesive and prevents bonding. You must shave and clean the area until the surface is completely smooth and vinyl is exposed.
Do I need to let the mattress rest after patching?
Yes, you should keep the mattress deflated for 6 to 12 hours after applying the patch. This allows the adhesive to cure fully. Ideally, let it sit overnight before inflating and testing the repair.
Key Takeaways for Patching Your Air Mattress on the Felt Side
Patching the felt side of an air mattress is not impossible. It simply requires one crucial extra step: removing the fuzzy flocking layer. With a razor, some acetone, and the right vinyl patch, you can create a strong, airtight, long-lasting fix. The process starts with accurate leak detection using soapy water, then moves to complete felt removal through shaving and chemical treatment. Clean the exposed vinyl thoroughly and let it dry completely before applying a vinyl-compatible patch that extends at least 10mm beyond the hole in all directions. Allow 6 to 12 hours of curing time with the mattress deflated, then test with soapy water before regular use. Follow this guide closely, test your work, and you can extend your mattress is life for seasons to come without needing a costly replacement.